We use cookies to make your experience better. To comply with the new e-Privacy directive, we need to ask for your consent to set the cookies. Learn more.


Fairy LED Bracelet
Thanks to Sparkfun for this tutorial, we are now able to connect all needed components into the Blueprint.
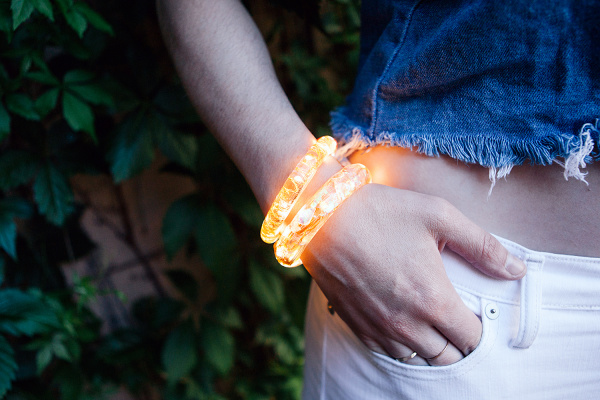
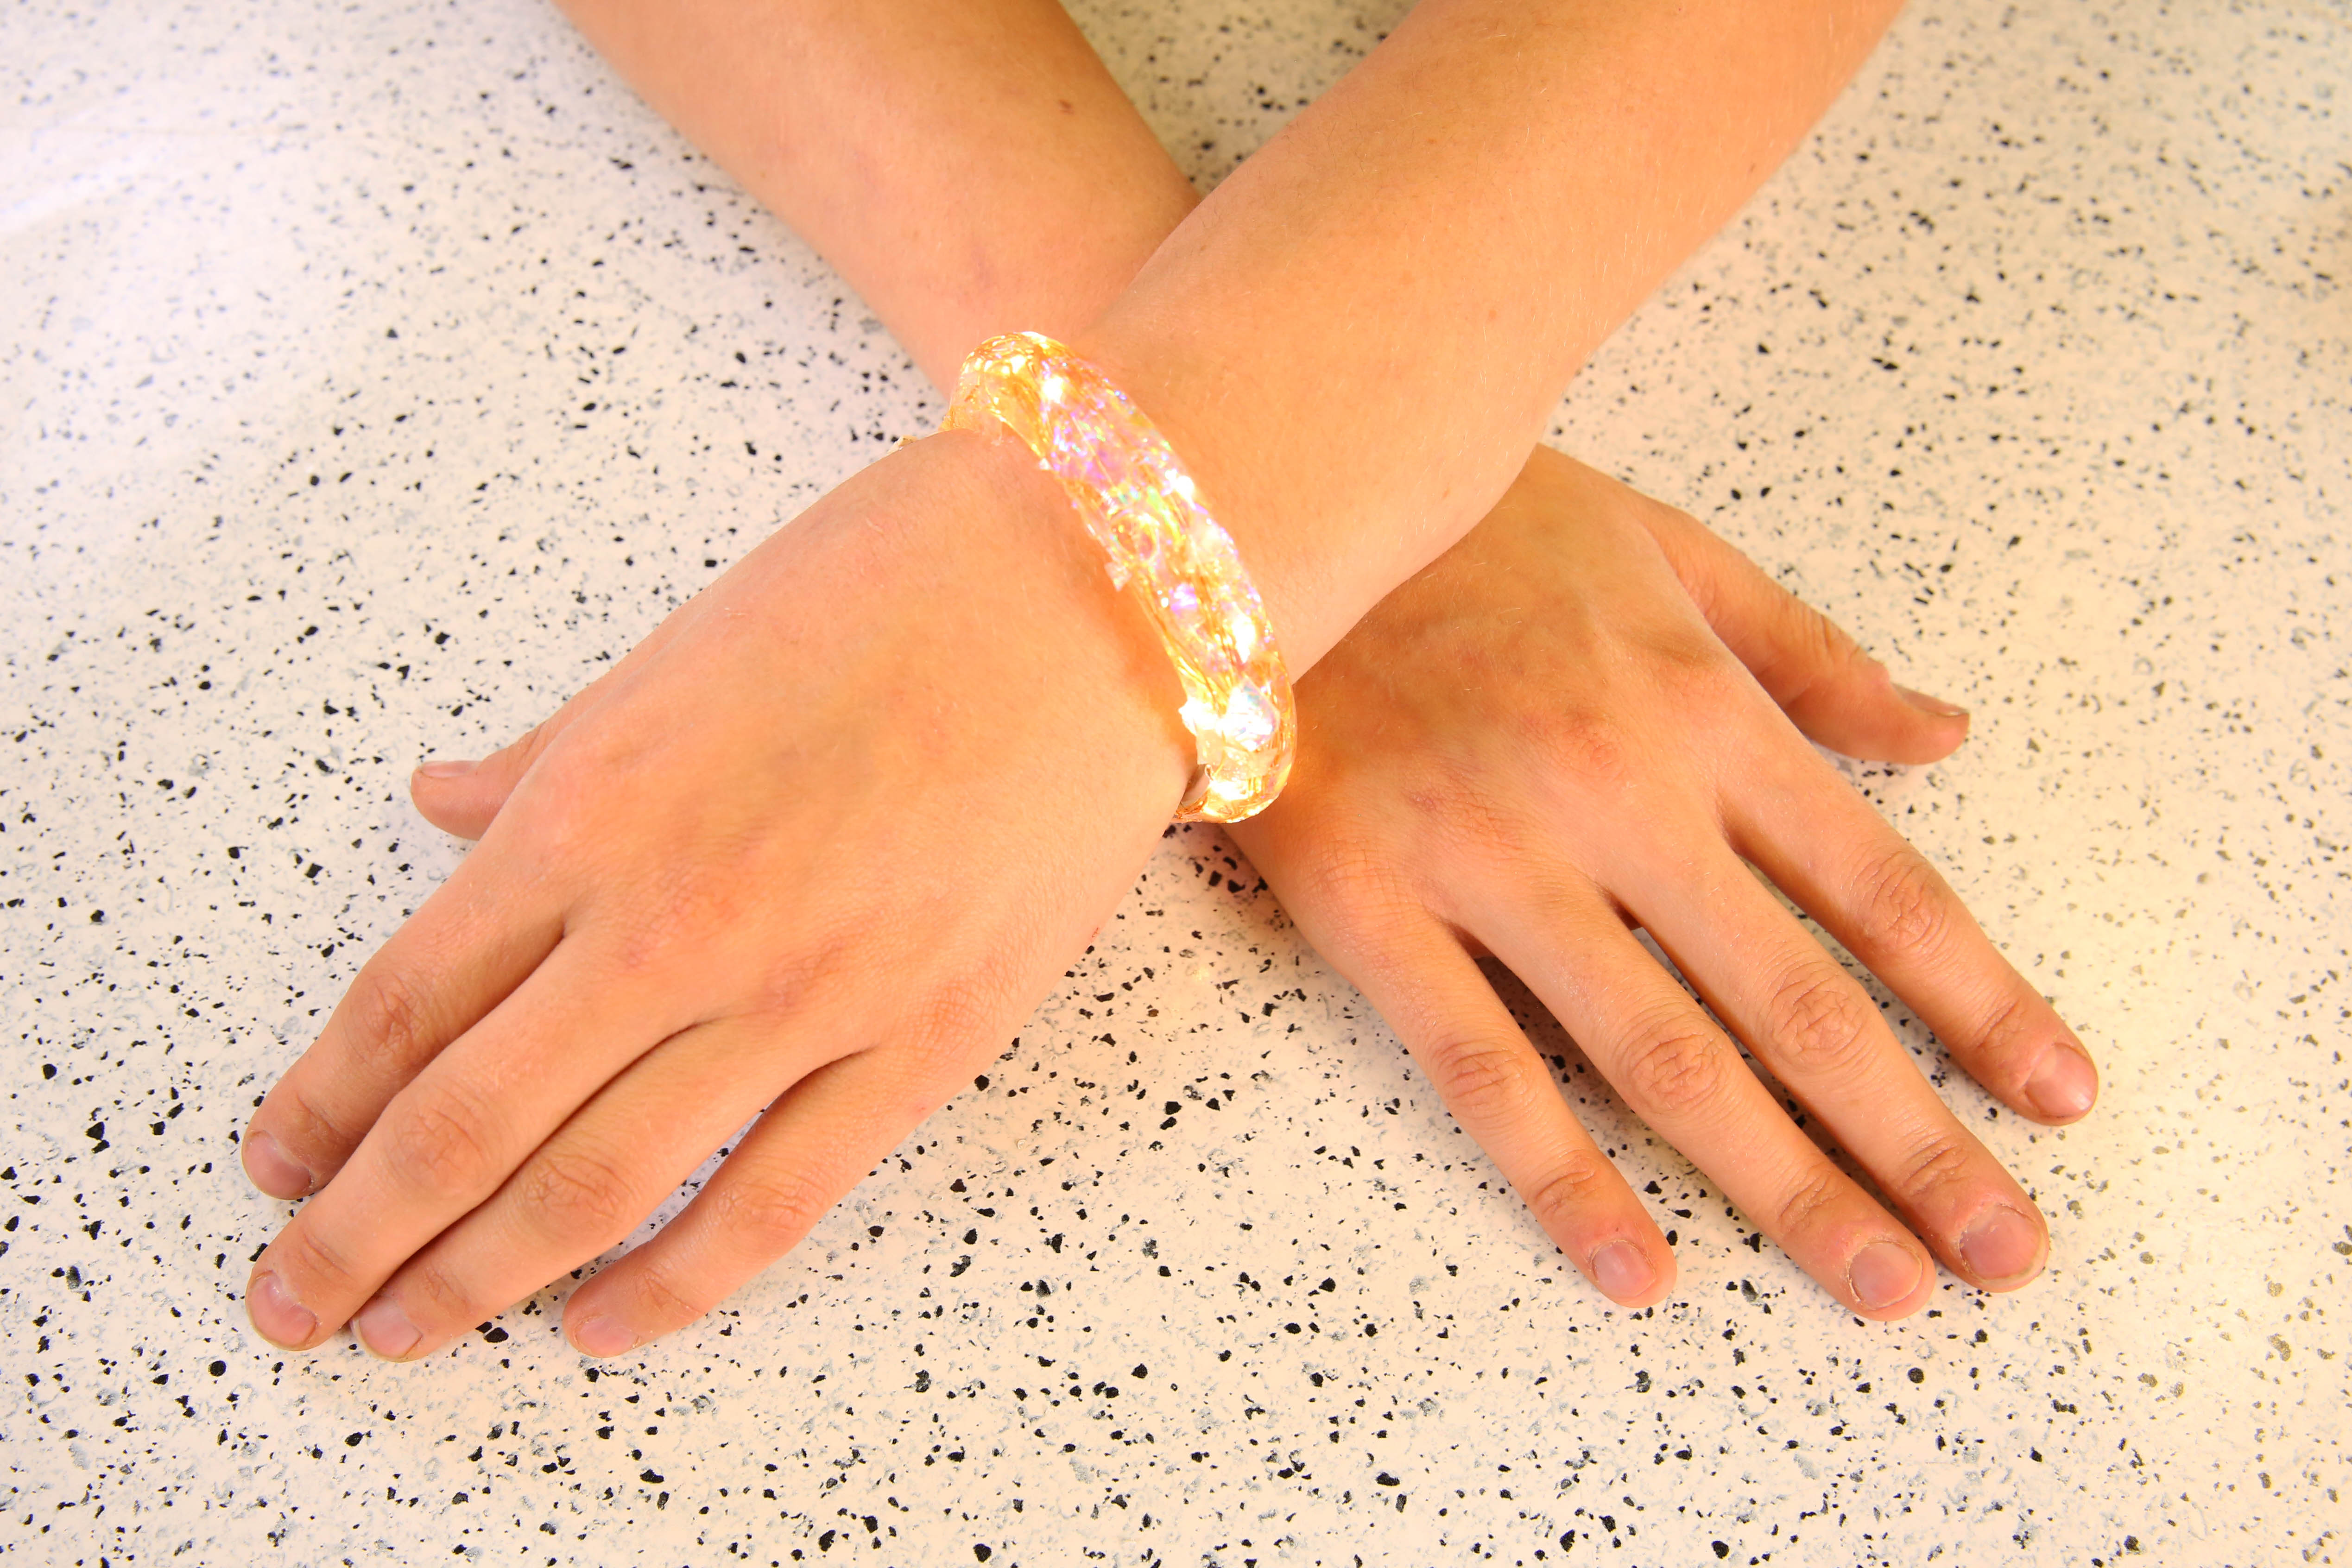
In this project, we’ll create a wearable bracelet using Fairy LED String Lights and a rechargeable LiPo Battery cast in resin.
Design and build time: 30 minutes — 1 hour
Resin drying time: 24 hours
Step #1: Materials and Tools
The following shopping list includes the supplies from SparkFun that you’ll need to follow along at home.
You Will Also Need:
- Easy Cast Clear Casting Epoxy
- Silicone Bracelet Mold
- Fairy String Lights
- Glitter (optional)
- Epoxy Mixing Cups
- Paper Clip
Products:
| Product Name | SKU | Price | Qty |
|---|---|---|---|
| NOK0.00 | 1 | ||
| NOK0.00 | 1 | ||
| NOK0.00 | 1 | ||
| NOK0.00 | 1 | ||
| NOK0.00 | 1 | ||
| Solder Leaded - 100 gram | TOL-09161 | NOK53.60 | 1 |
| SolderPro 50 Butane Soldering Iron Kit | TOL-09450 | NOK239.20 | 1 |
| JST Right-Angle Connector - Through-Hole 2-Pin | PRT-09749 | NOK11.20 | 1 |
| Polymer Lithium Ion Battery - 110mAh | PRT-00731 | NOK63.20 | 1 |
| LiPo Charger Basic - Micro-USB | PRT-10217 | NOK71.20 | 1 |
Step #2: Understanding the Circuit
This project is an example of a basic circuit – an electrical loop that travels from a power source along a path (called a trace) to a component (or components) that uses the electricity to function and then back to the power source. For our project, we’ll use an LED (Light-Emitting Diode). When this loop is completed by connecting the battery to the LED leads, electricity from the power source is able to flow from the positive (+) side of the battery through to the LED (lighting it up) and back to the negative (–) side of the battery. This electric flow is called current.
LEDs, like many electronic components have polarity, meaning electric current can only flow through them in one direction. That means that it matters which LED lead is connected to the positive ( + ) side of the battery and which is connected to the negative ( - ) side. If hooked up incorrectly, they will not light up. The batteries are also polarized; they have a positive and negative side. Always check the to make sure your LED leads are correctly oriented before soldering together a circuit. You can test this by simply trying one side and then the other or by using a multimeter.
Step #3: Putting It Together
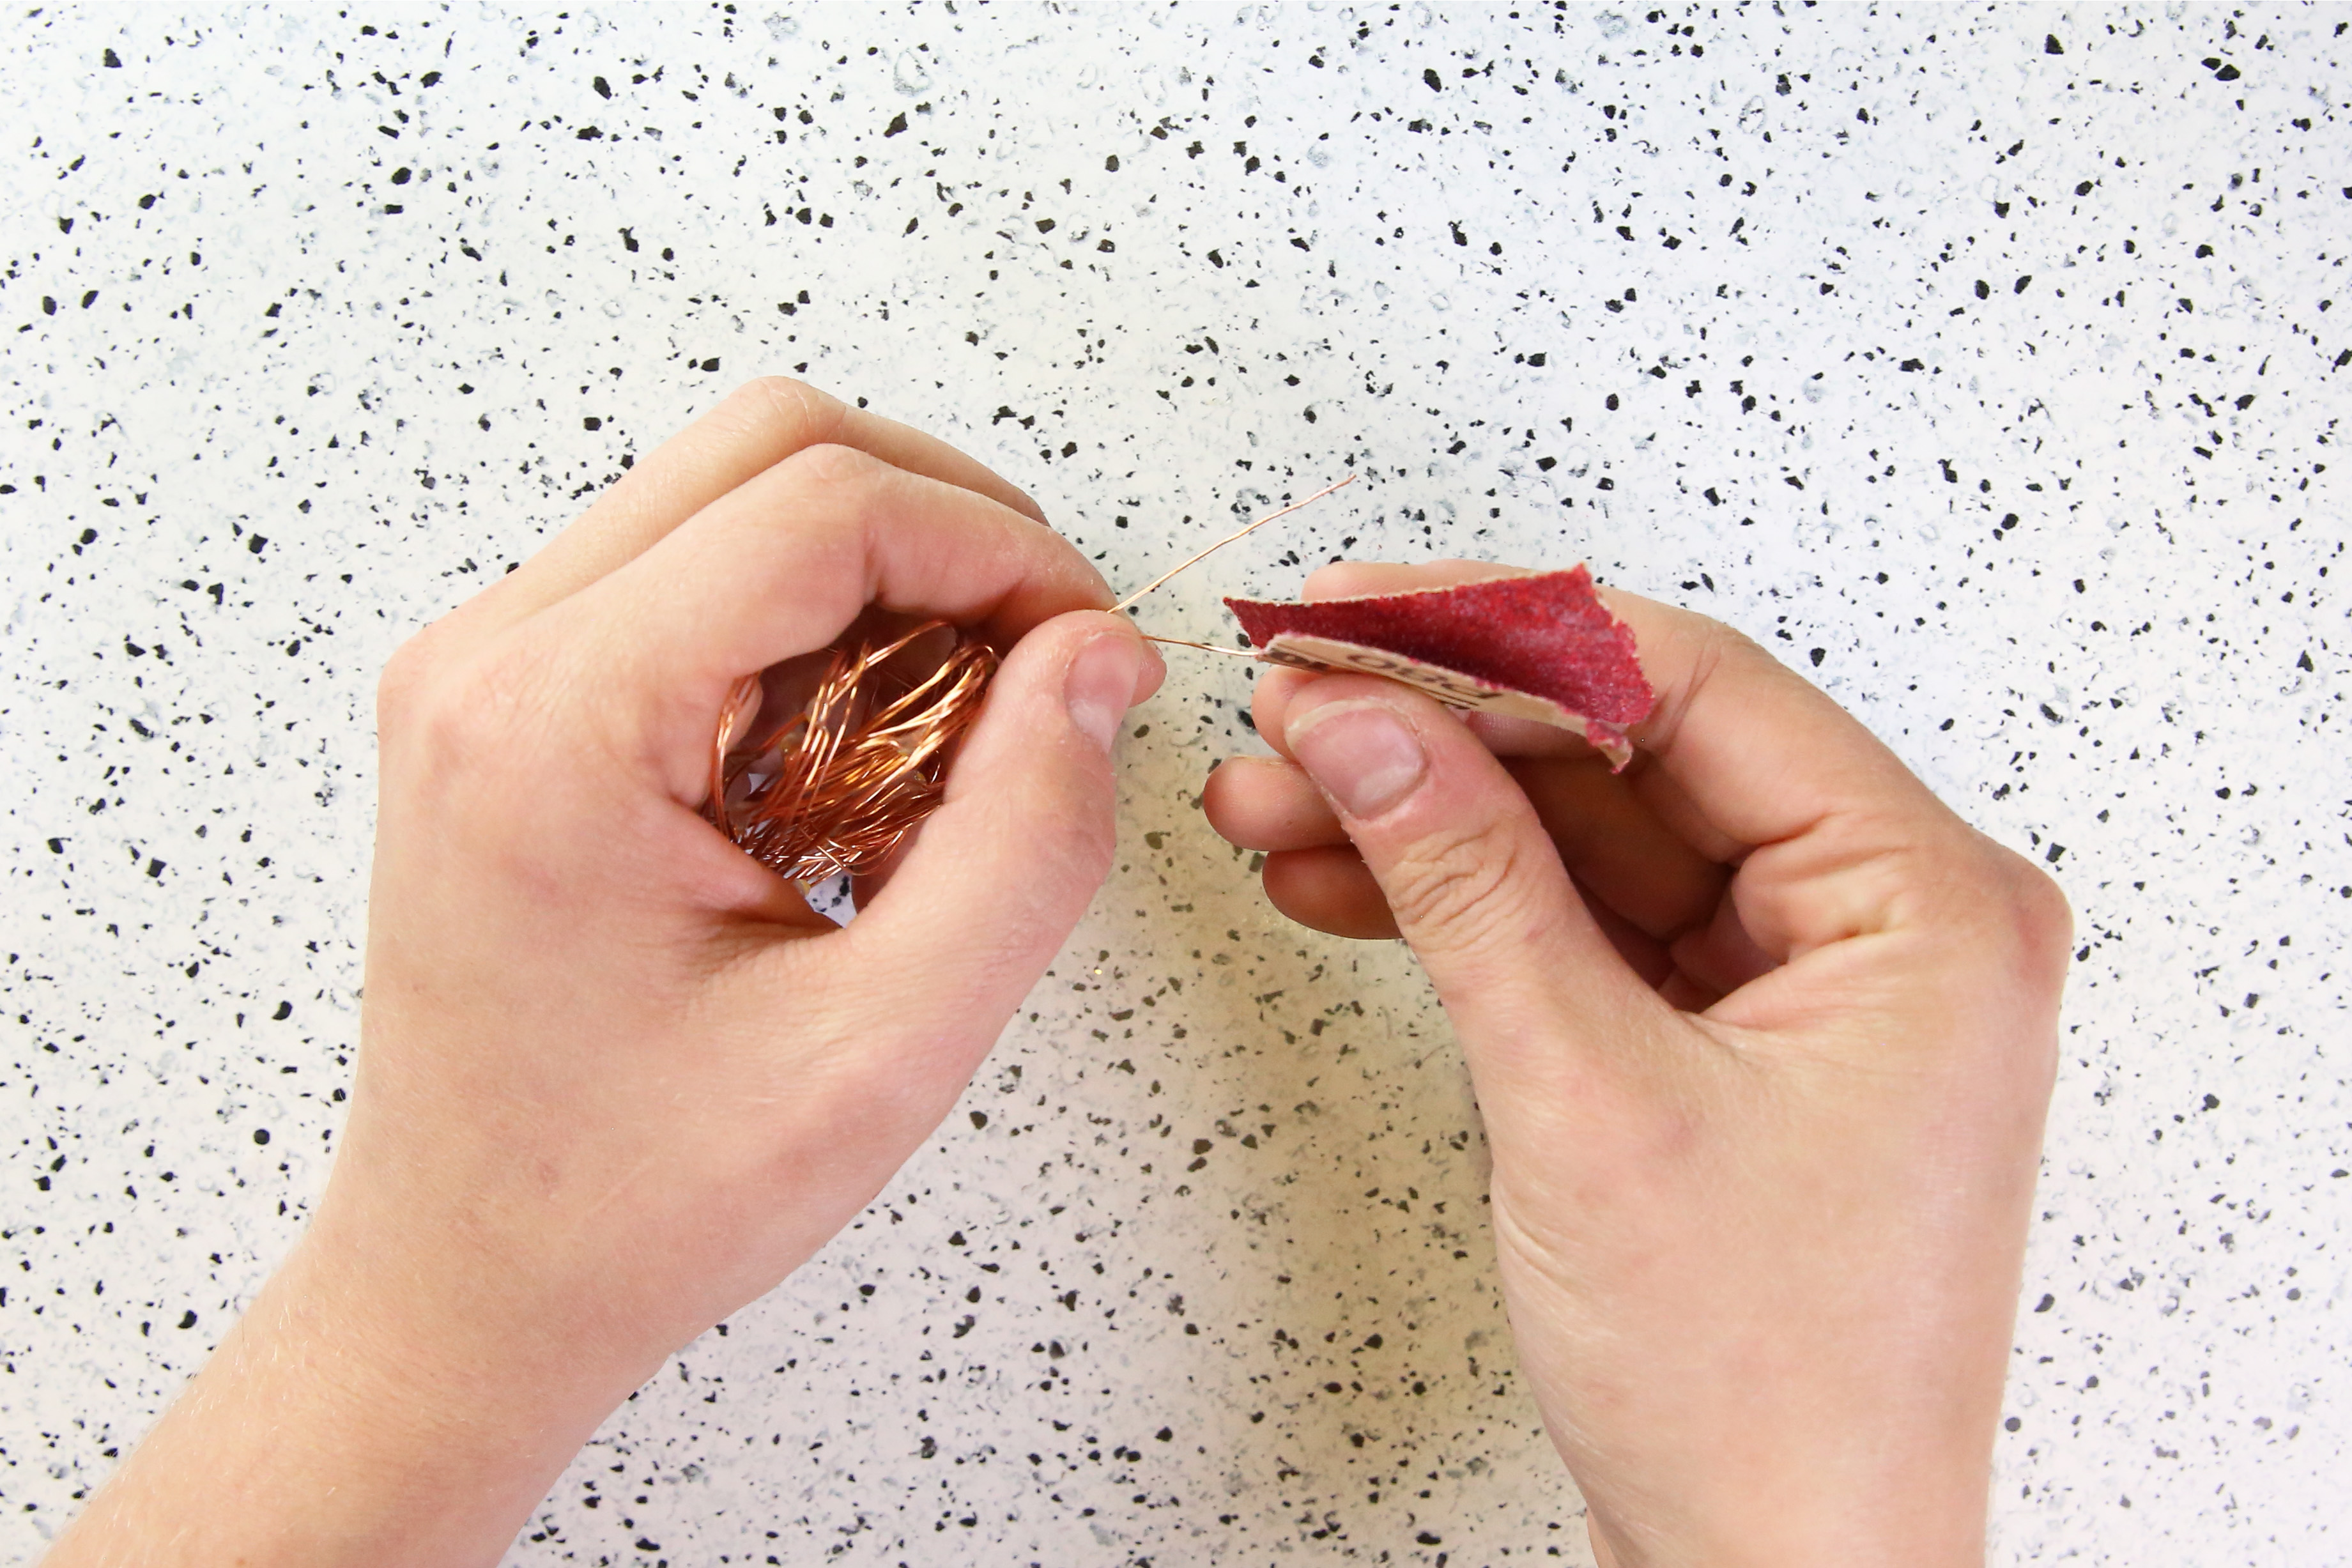
Start by sanding down the leads on the Fairy String LEDs. If you haven’t already, you will need to snip away any hardware that might have come with them to adapt to a wall or battery source.
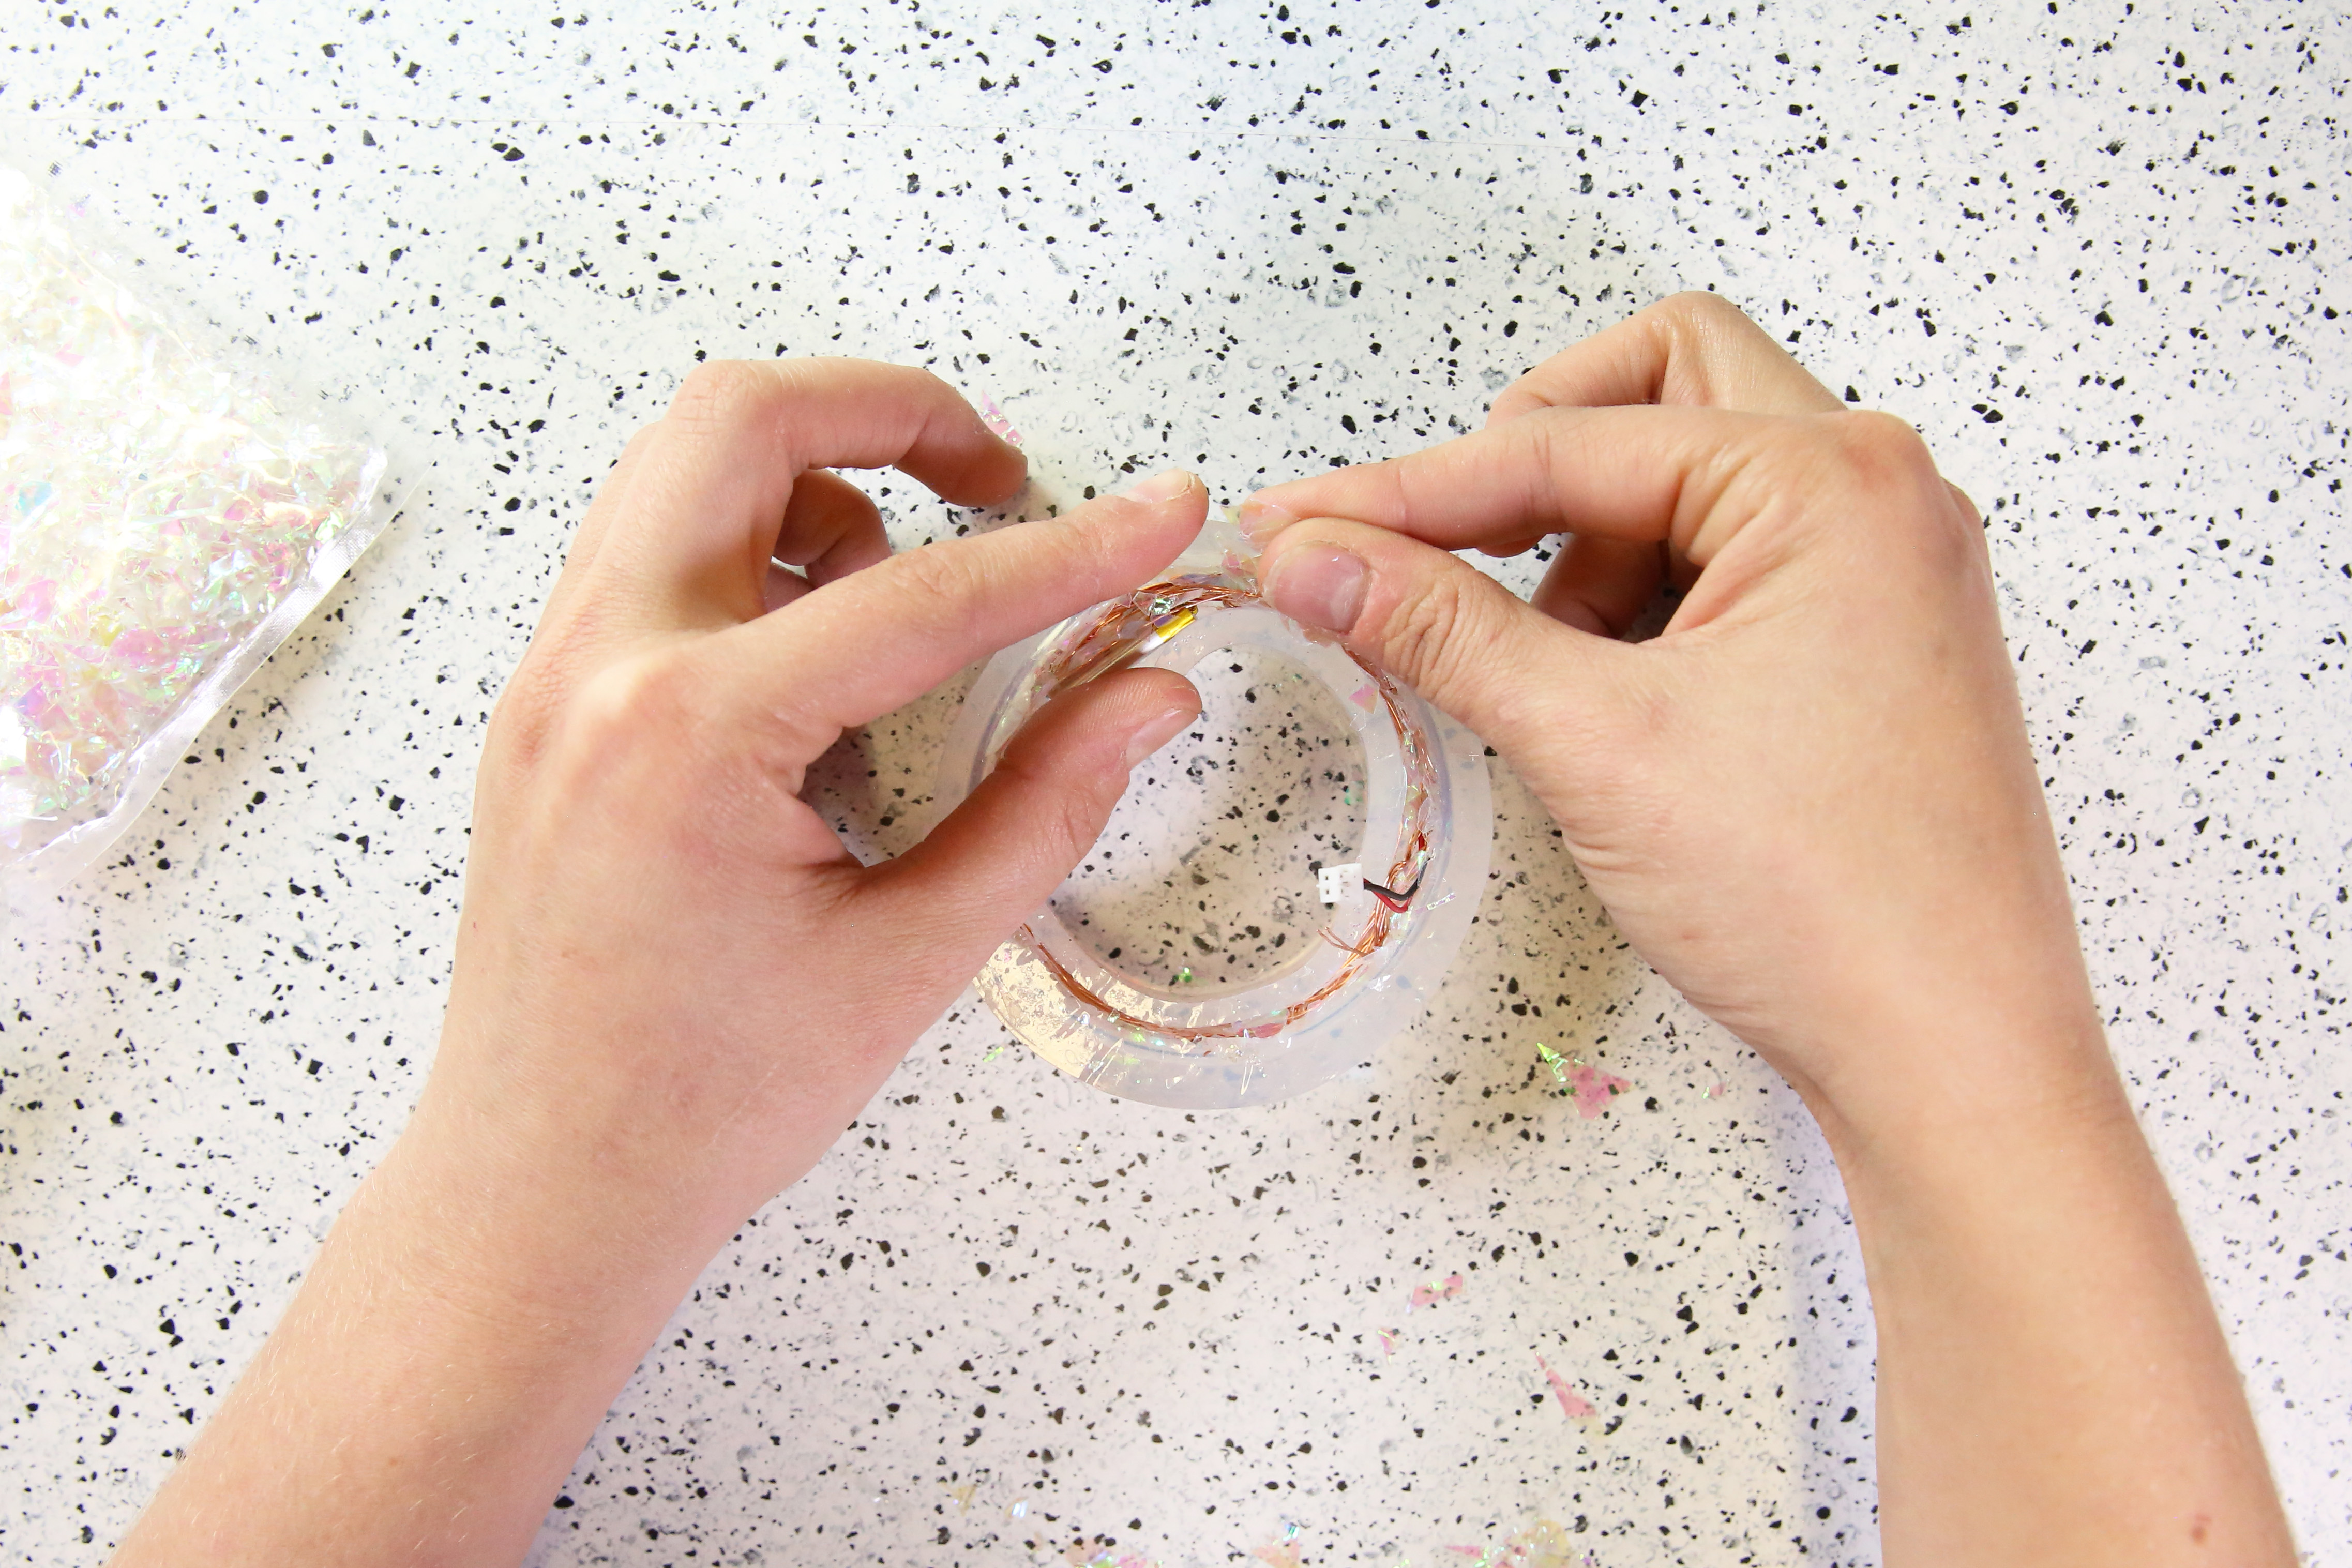
Step #4: Silicone Mold
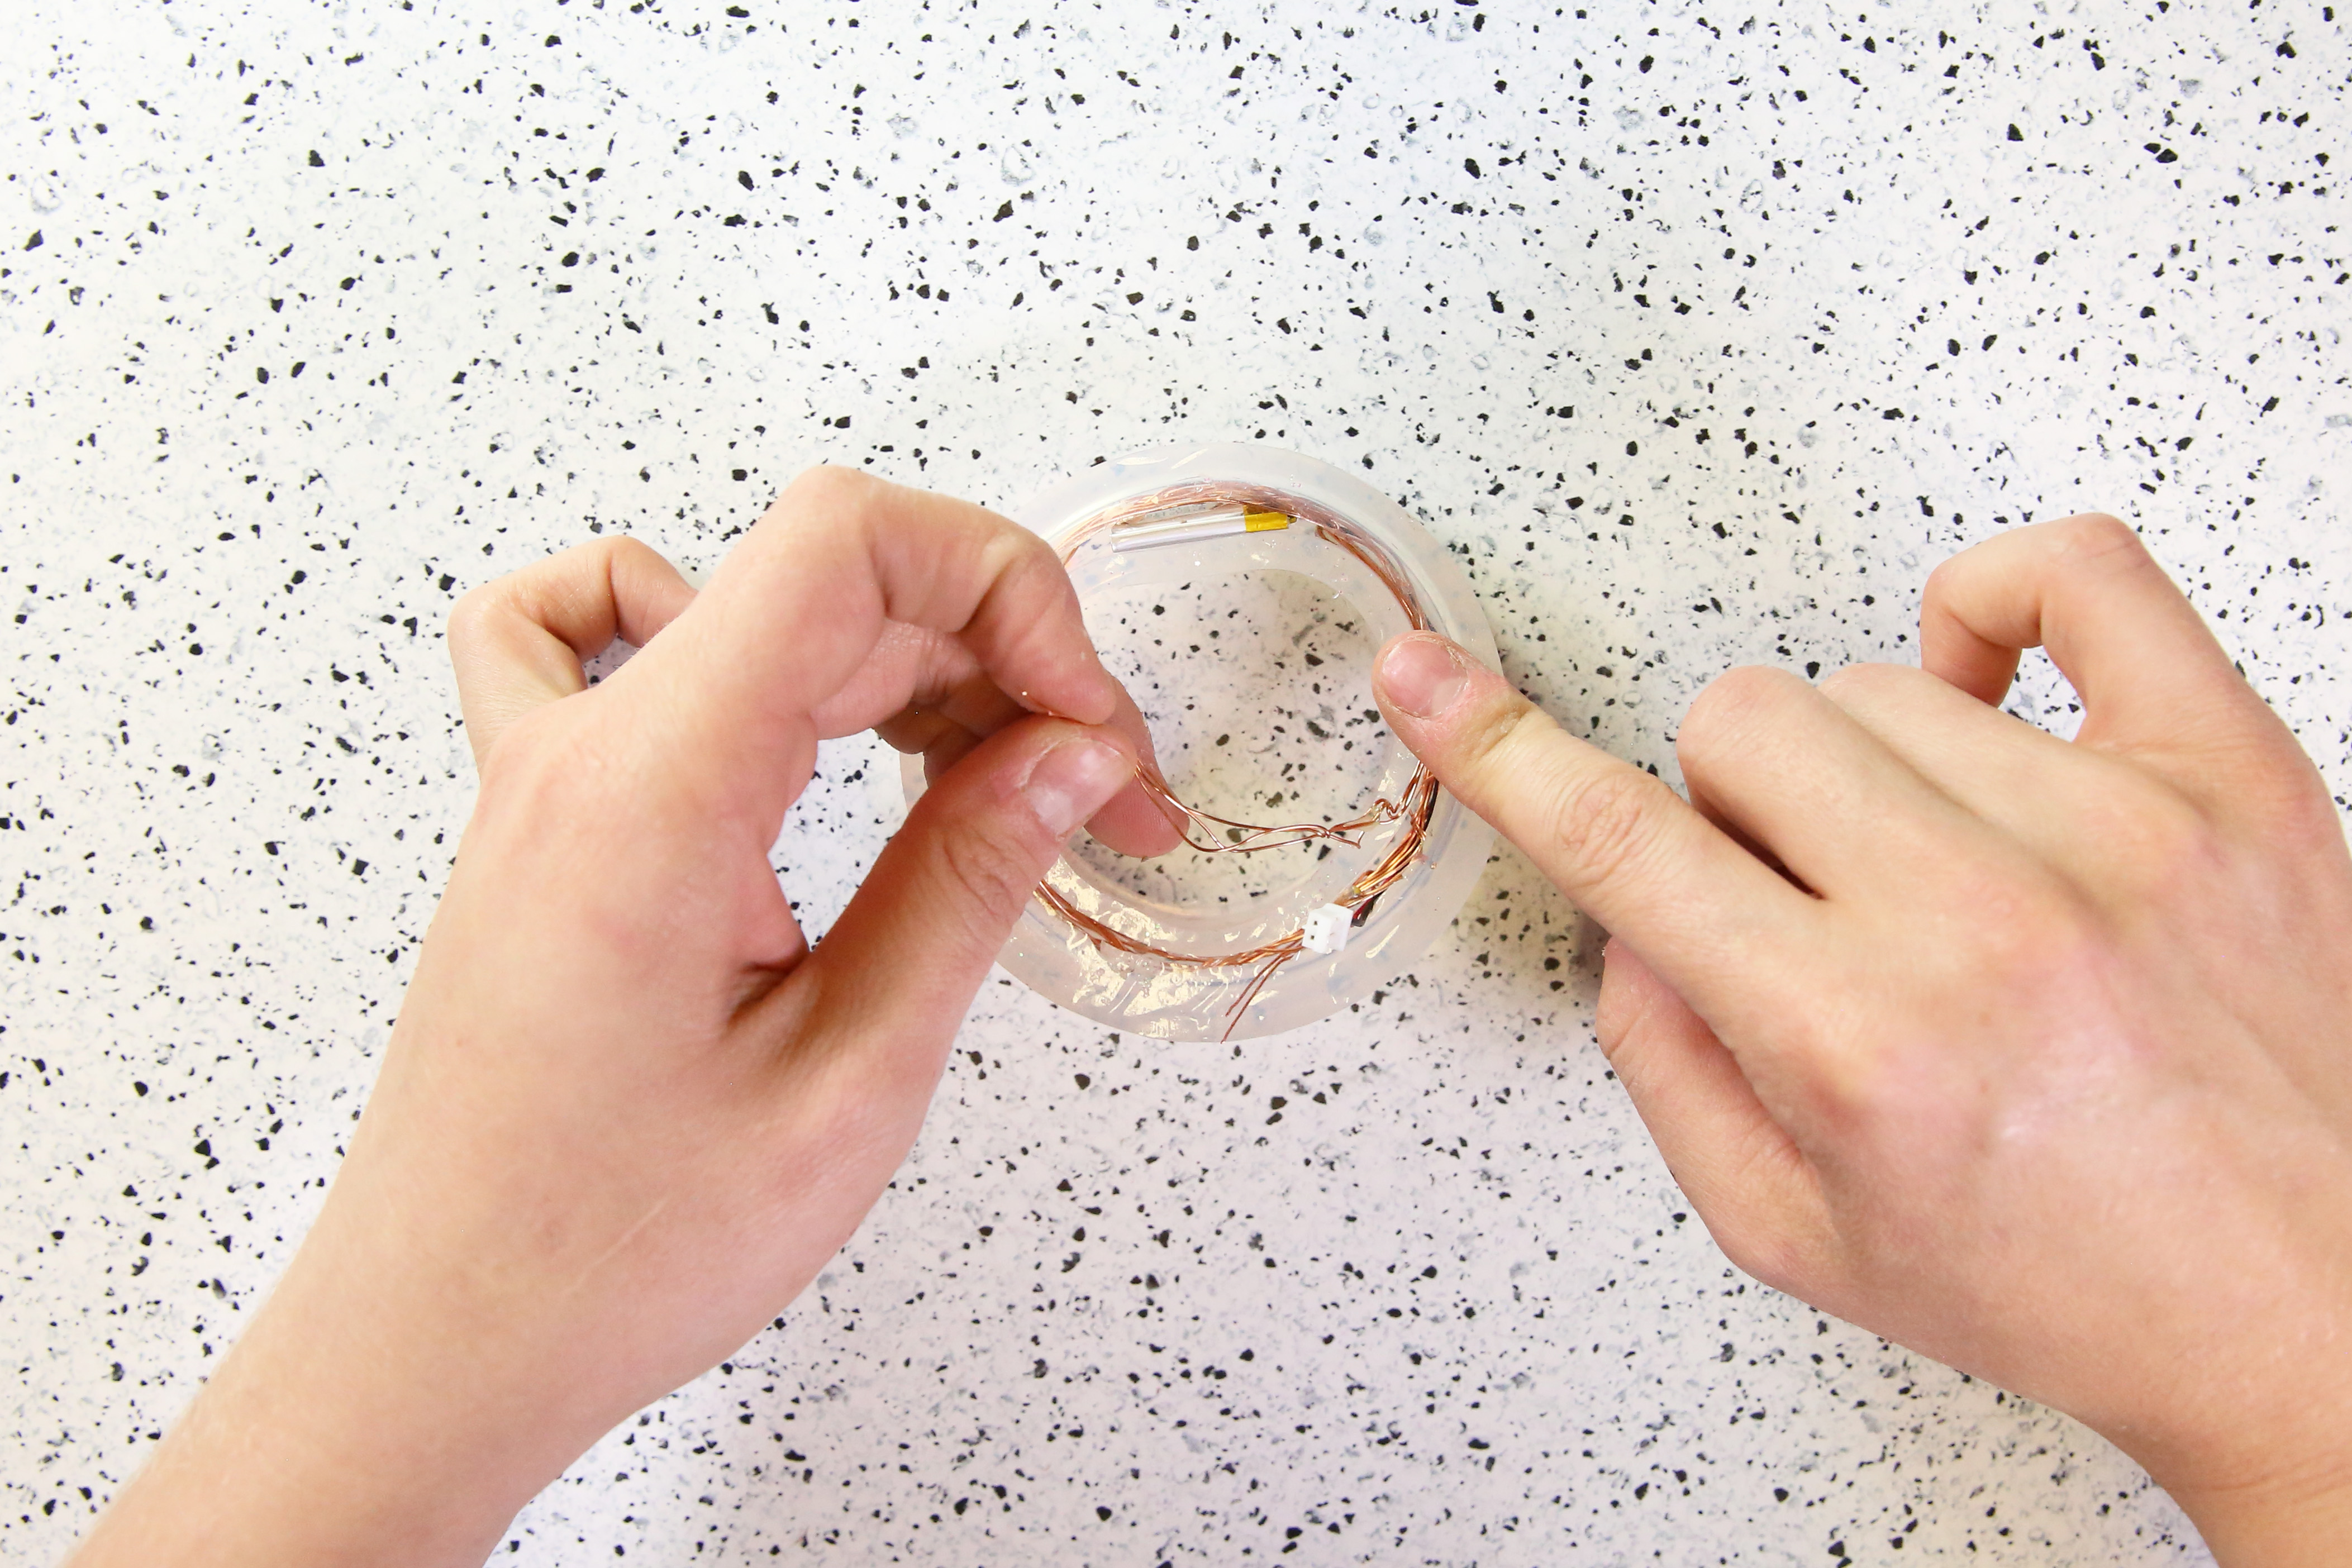
Place the LiPo Battery in the Silicone Mold, followed by the string of lights. Make sure you keep the sanded LED leads and LiPo connector out of the mold.
Step #5: Add Glitter
Fill the mold up with as much glitter as it will hold. (This is optional. If you don’t like or want glitter, skip this step!)
Step #6: Epoxy Mix
Following the instructions on the packaging, pour the Epoxy mix into the mixing cup and use a paper clip to mix it together. Mix slowly as to avoid making air bubbles.

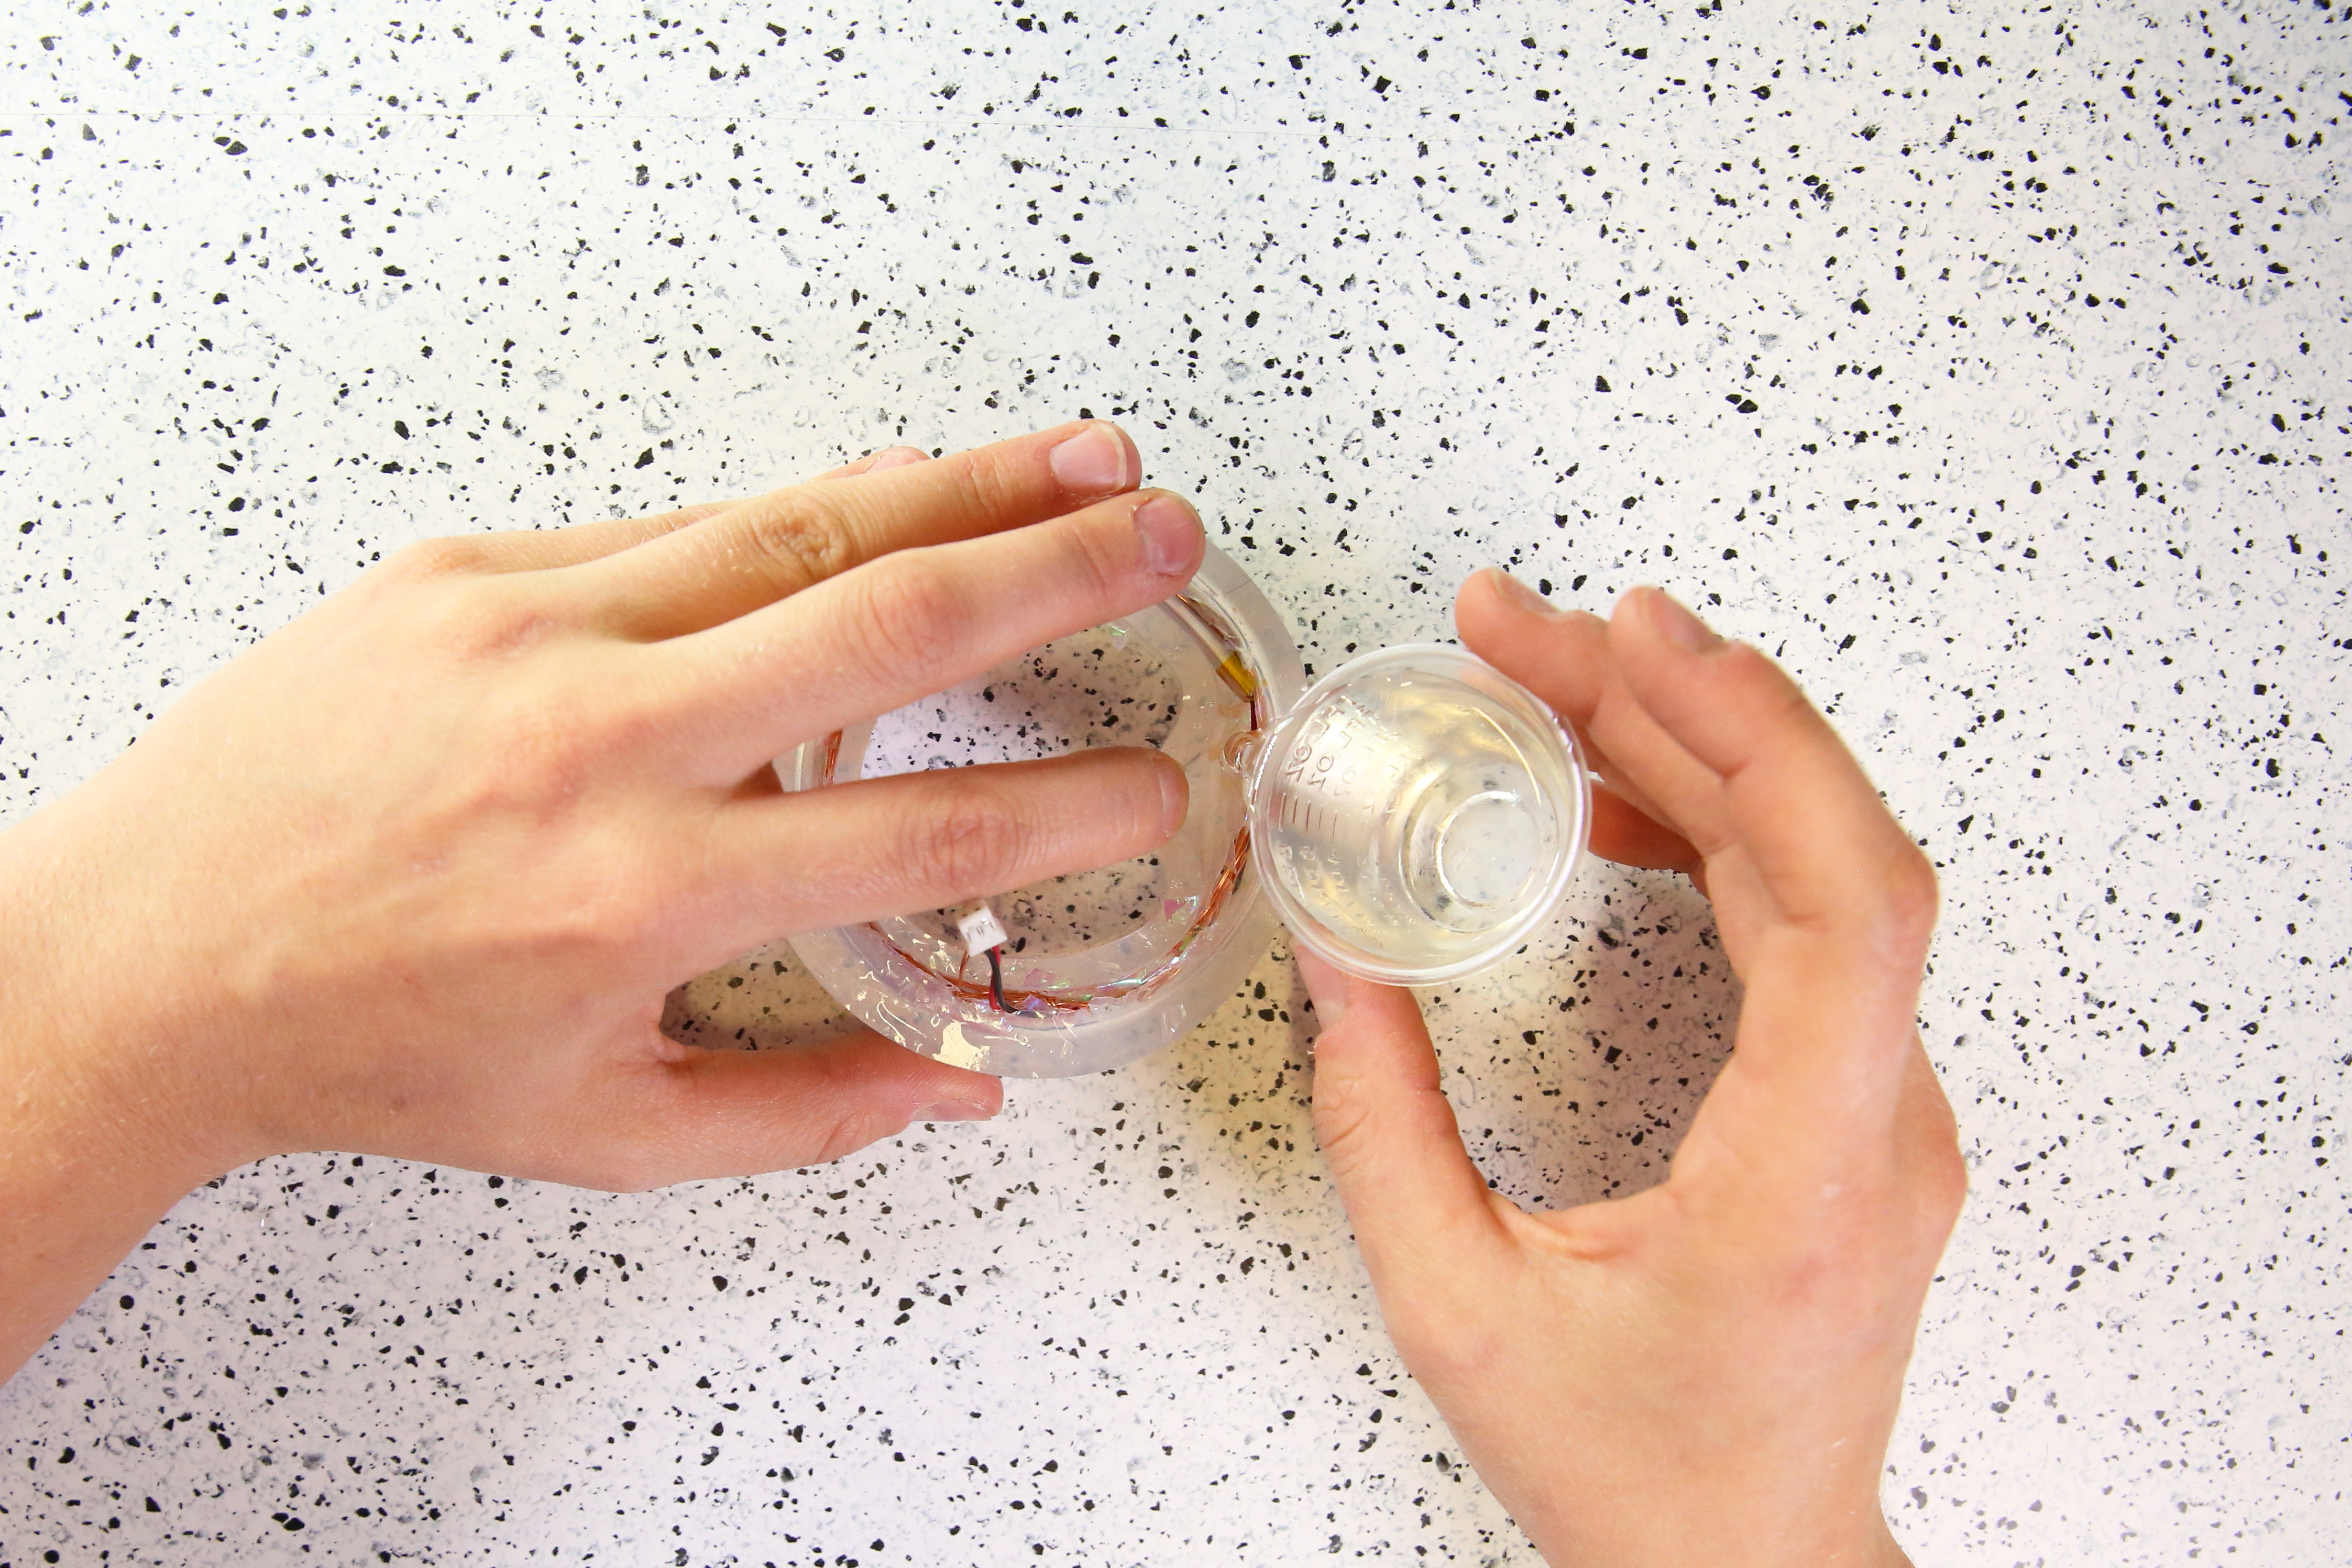
Step #7: Pour Mixed Epoxy
Pour the mixed Epoxy into the bracelet mold, setting all your electronic parts and glitter inside of the bracelet.
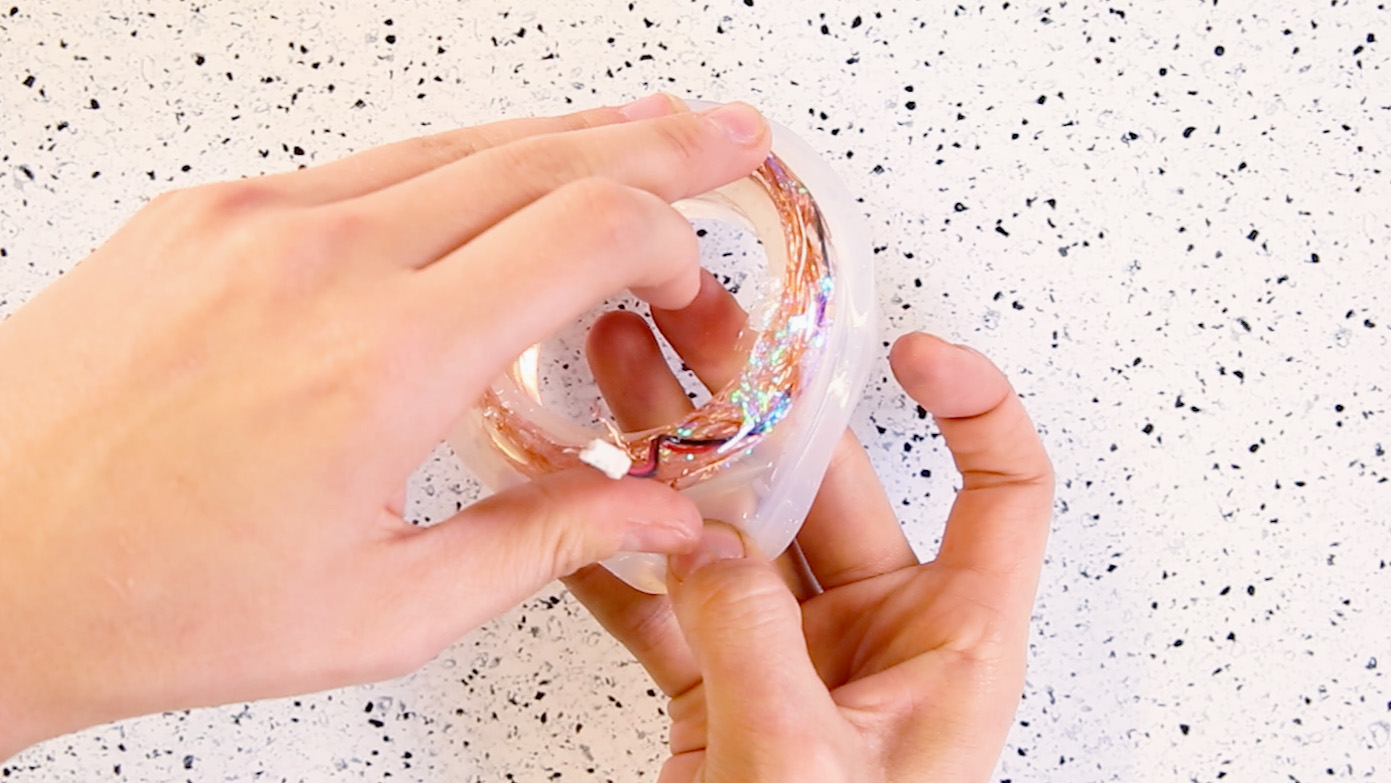
Step #8: Wait... 24 hours
After 24 hours, remove the bracelet from the mold.
Step #9: Solder JST Connector
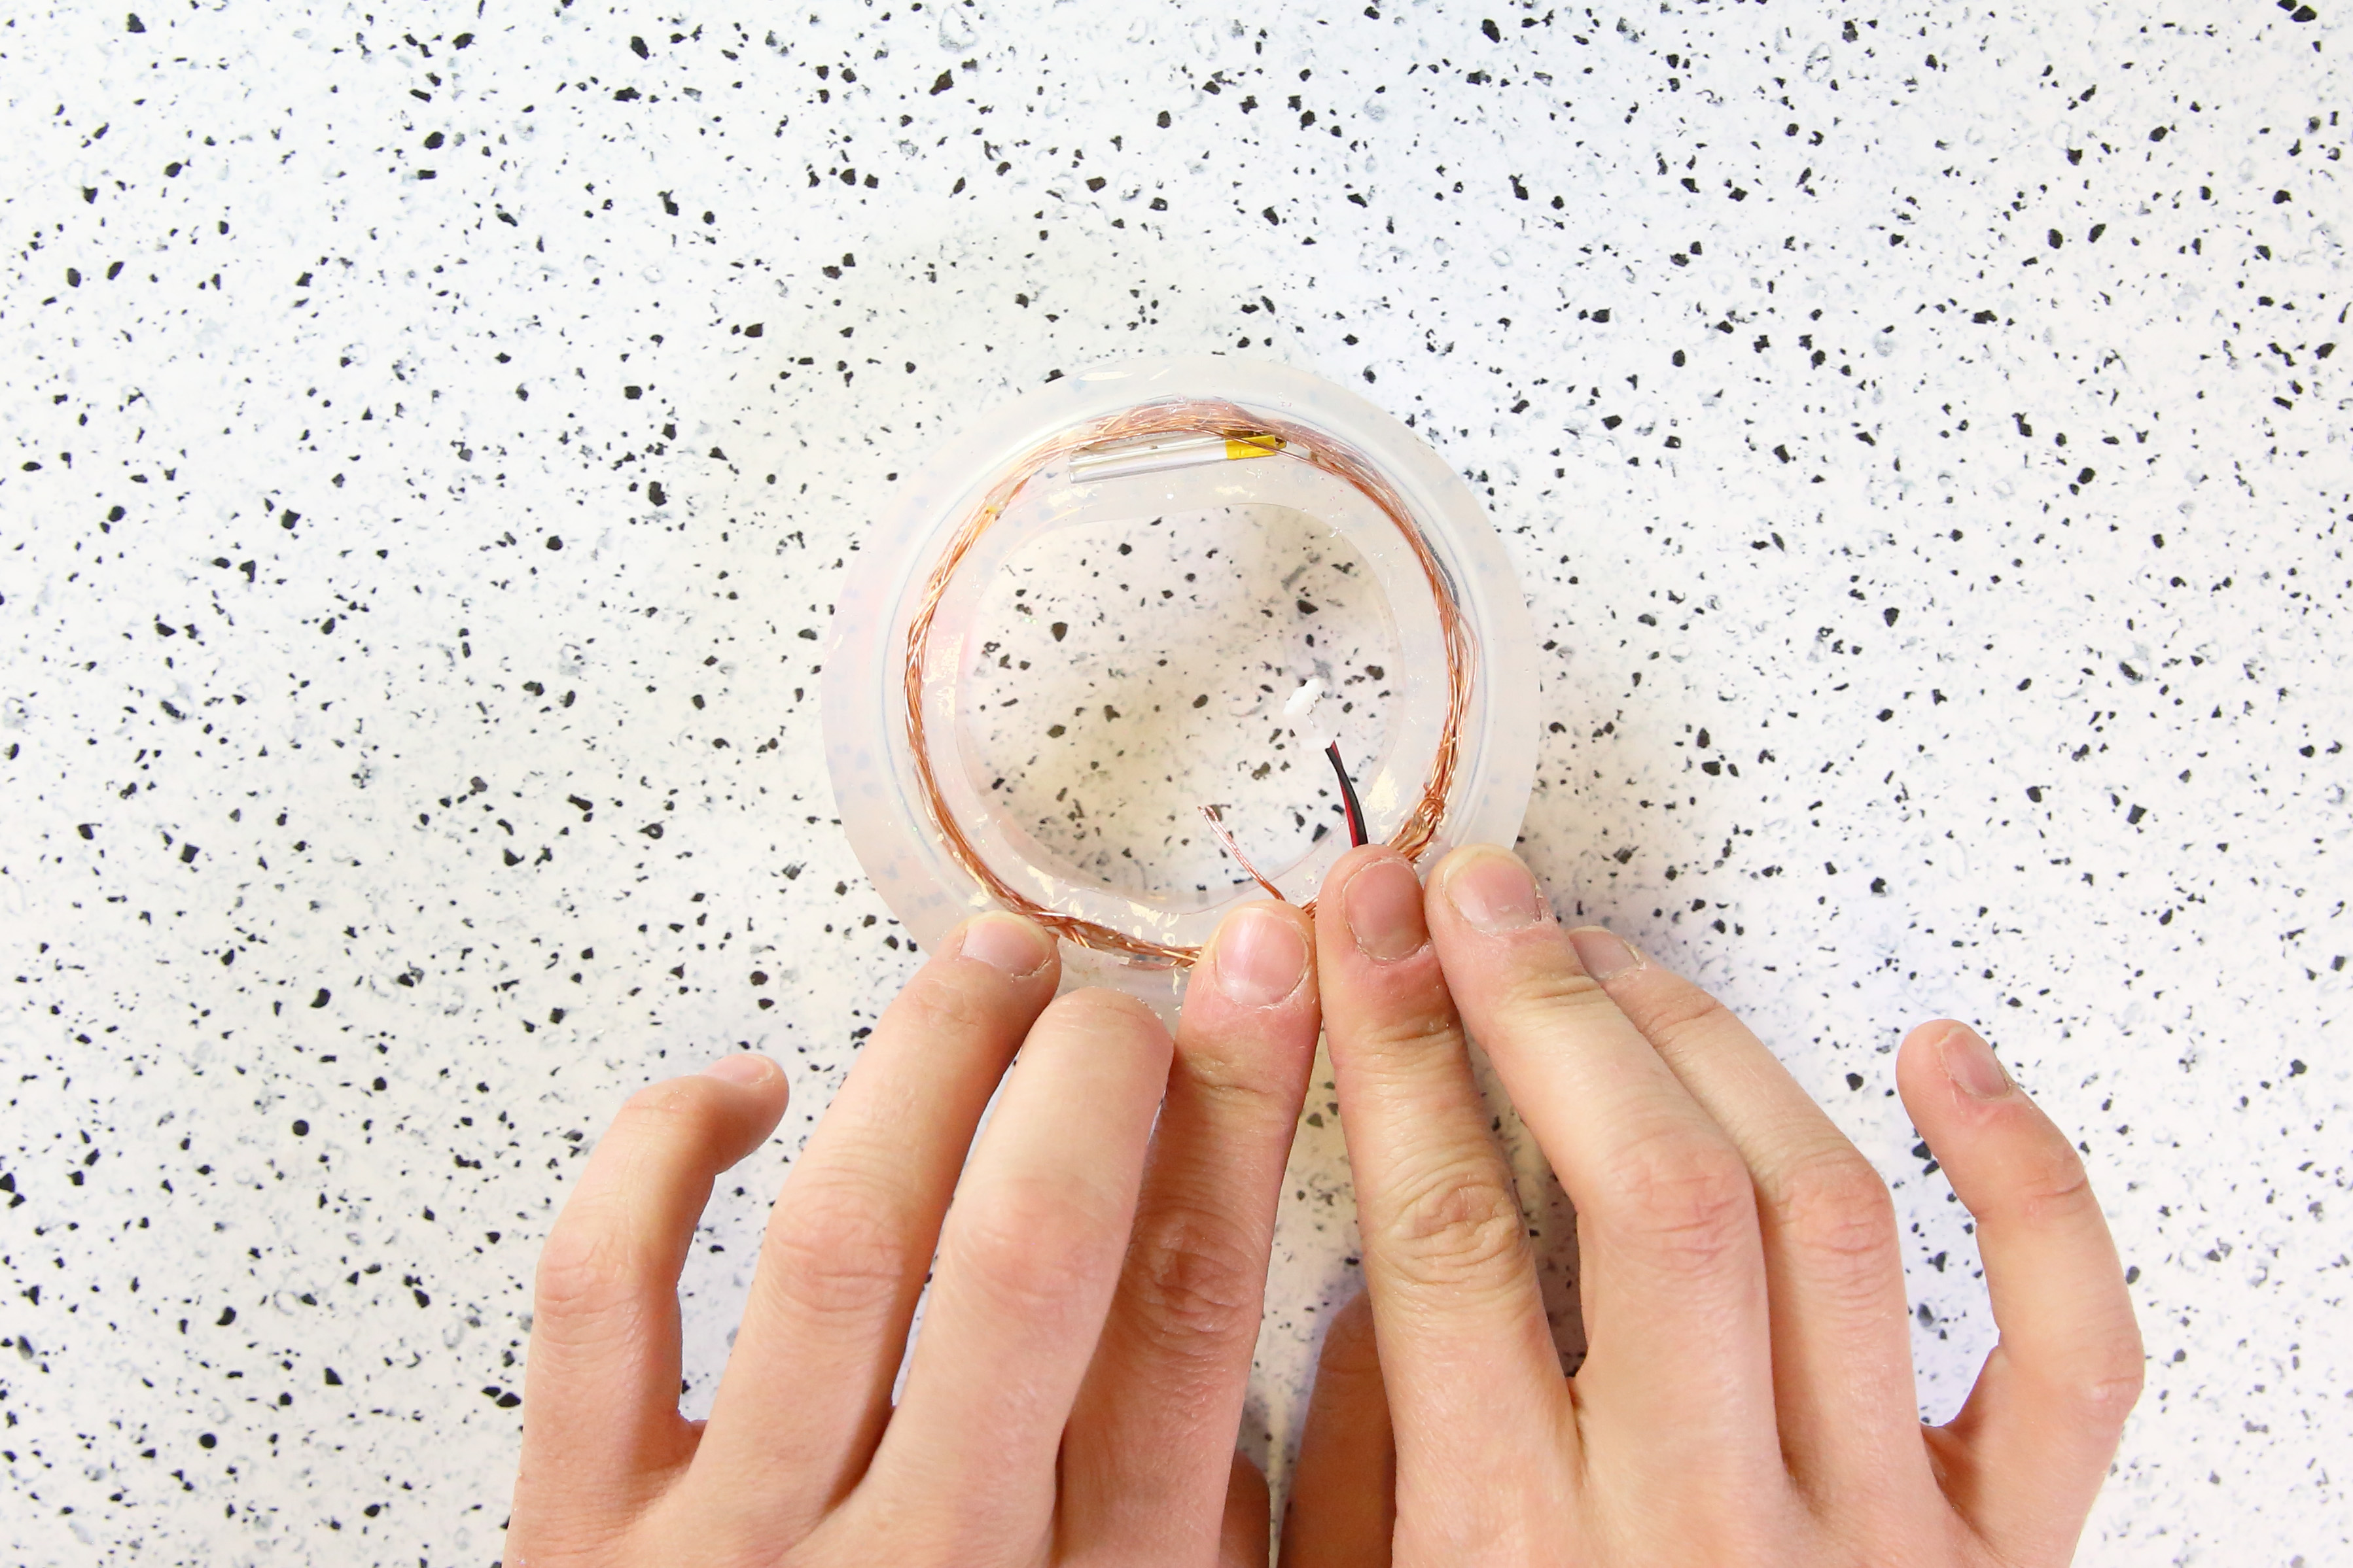
Find the + and - lead by using a multimeter or power source, and then solder on a JST connector accordingly.

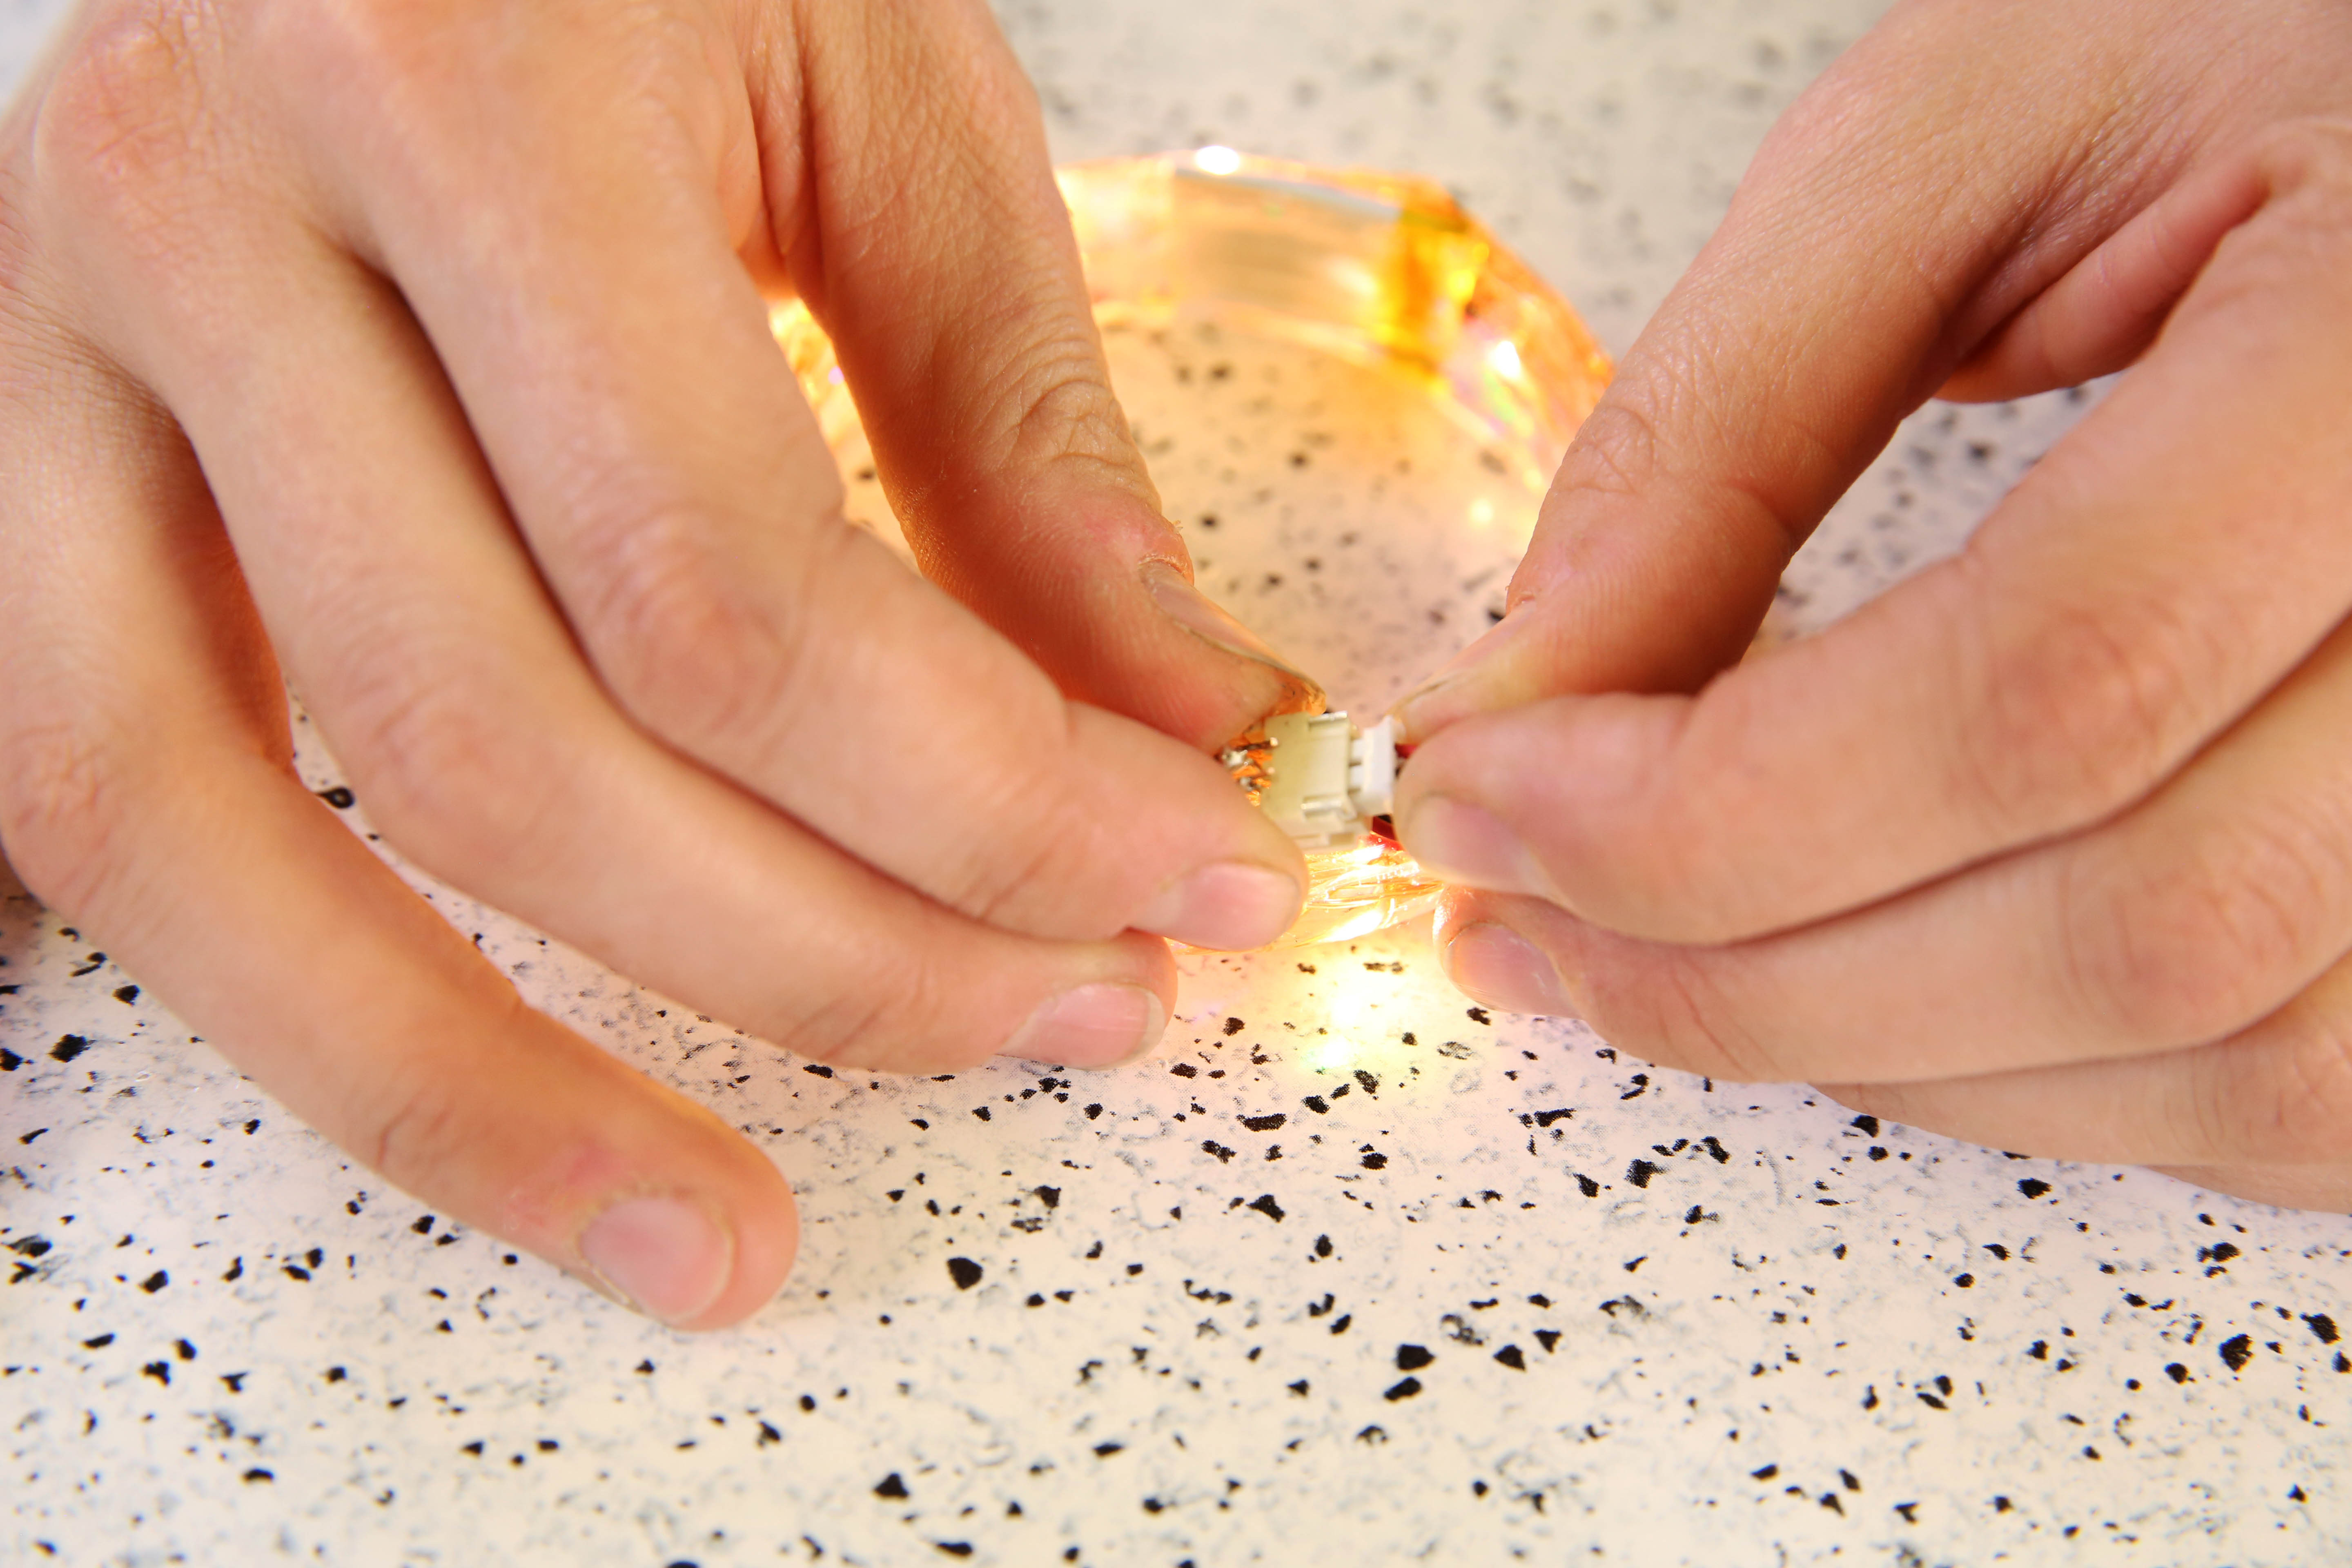
Step #10: Connect LiPo
Finally, insert your LiPo connection into the soldered JST connector, and enjoy the light!
Step #11: Enjoy your Awesome Bracelet
Please login to comment.
Don't have an account?
Sign Up for free