We use cookies to make your experience better. To comply with the new e-Privacy directive, we need to ask for your consent to set the cookies. Learn more.


Greeting Card with Copper Tape

Thanks to Sparkfun for this tutorial, we <3 them!
Paper circuits are becoming more and more popular in the hobby electronics world.
The easy availability of craft-like materials and increasing abundance of new products has created a really unique ecosystem for crafters looking to make the leap to electronics projects.
What is a Paper Circuit?
A paper circuit is a functioning electronic circuit built on a paper surface instead of a PCB.
Projects can range from greeting cards, to origami, to traditional art such as paintings or drawings.
What makes them unique is the use of traditional fine art techniques to create a circuit that is combines aesthetics and functionality.
Creating Traces: Overview
A trace is a path that takes the place of wiring, most commonly seen on a printed circuit board. In paper circuits we’ll use conductive materials as a substitute for wires on the paper’s surface to connect components. In this tutorial we’ll discuss three types of traces: paint, tape, and ink.
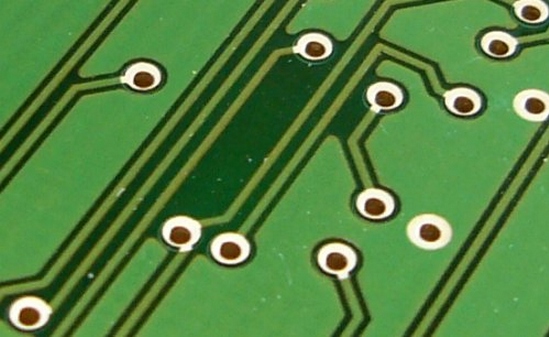
The green lines on this PCB are the traces connecting parts of the board.
Conductive Tape Traces
Conductive tape is one of the easiest ways to get started crafting a paper circuit. Just peel off the paper backing and press down where you want your circuit to go! Copper tape is also solderable, allowing strong connections between components and traces that you won’t get with paint and inking methods.
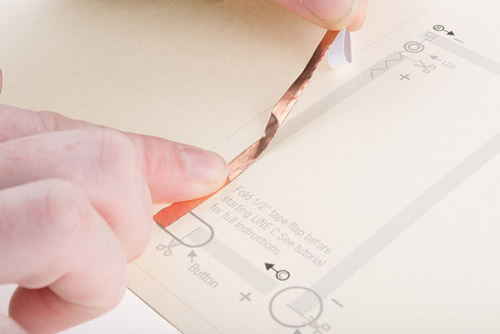
Prototyping with copper tape and a SparkFun template
Pros:
- No dry time.
- Solderable (copper tape only).
- Easier to find locally - copper tape is also used as a snail/slug repellent and sold in hardware stores. It is also used in stained glass making and may be available in local craft or hobby stores. Not all tapes are made alike though - these ones may be more difficult to work with and the adhesive is probably not conductive.
Cons:
- Copper tape can give you a nasty paper cut, please be careful!
- Harder to create smooth lines or shapes. You can cut the tape to a thinner width to help with this.
- Conductive fabric tape can be very expensive.
Step #1: Copper Tape
- Peel and stick where the traces should go, making sure to leave gaps in the tape where components will sit. For the most reliable circuit, try to use one continuous piece of tape between components. Use folding techniques around corners or solder pieces together as needed.
- For copper tape - use clear tape over bent leads to hold them down to the trace. Soldering is a more secure option. For fabric tape we recommend a conductive glue or sewing the connection with conductive thread.
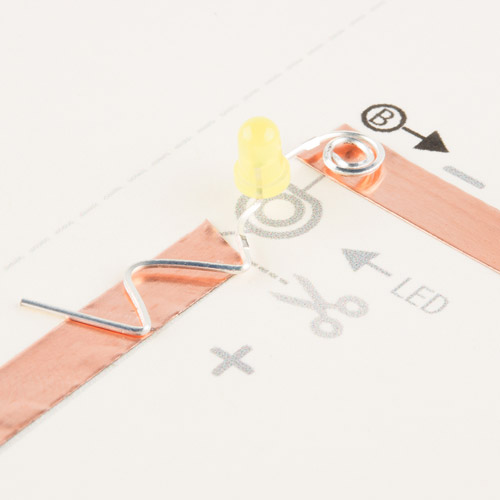
Note how the copper tape is cut to leave room for the LED.
Step #2: Examples

This blushing robot card from Chibitronics uses thin copper tape to spell the message inside and create the circuit for the LED on the front of the card.
Jie Qi’s Circuit Sketchbook uses conductive fabric tape in the book’s binding and copper tape on the inside cover.
Additional Resources:
- Paper Circuits with Copper Tape - one of the original resources for working with copper tape developed by Jie Qi at MIT’s High-Low Tech Lab. This site includes some printable templates and techniques.
- Getting Started with Copper Tape for Electronics - video overview of working with copper tape, making connections, and folding corners and curves.
- Soldering Conductive Fabric - tests done by Hannah Perner-Wilson of Kobakant on soldering different types of fabric.
Please login to comment.
Don't have an account?
Sign Up for free