We use cookies to make your experience better. To comply with the new e-Privacy directive, we need to ask for your consent to set the cookies. Learn more.


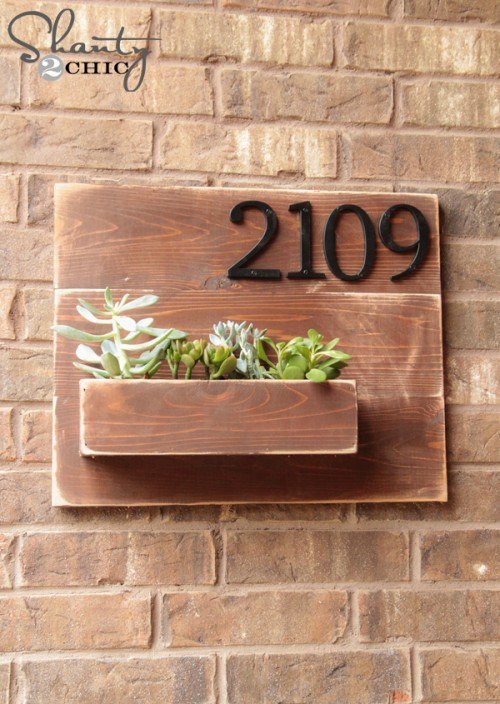
Address Number Wall Planter
Kudos to Shanty 2 Chic for this awesome tutorial.
This have been added to test Woodworking Category.
No products added to BOM, only external Tools and plants.
There are some blank space on the wall near our front door.
I thought it would be fun to create something to fill that space and serve a function at the same time!
Step #1: Materials
1 – 5.5″ cedar fence picket (mine is 3/4″ thick… if you use 5/8″ be sure to adjust your pocket holes)
1 x 4 x 8 cedar board – you will have scrap, but that’s she shortest you can buy at Home Depot
Metal Address Numbers
Plants
With the plants included, the entire project cost me under $25.
You can use less expensive plants, but you will have to water them more which I fail at.
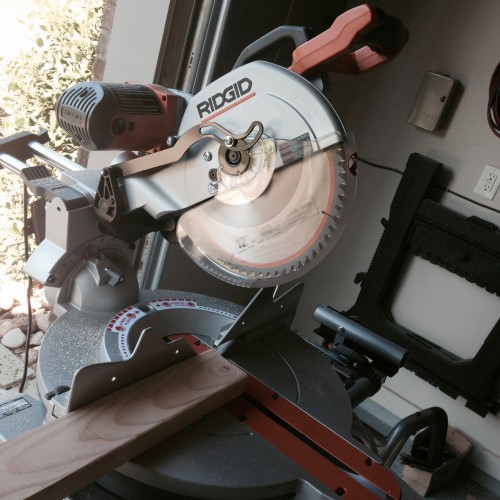
Step #2: Cut out the parts
Start by making your cuts! I cut my fence picket into 3 pieces that were each 18″ long. I used my Ridgid miter saw for this part
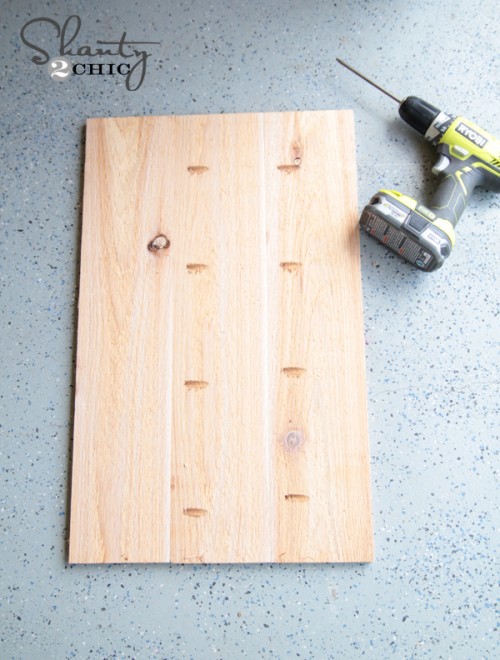
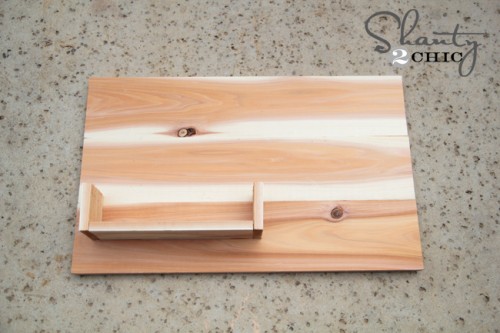
Step #3: Put it together
At this point, your boards should look a bit like this…
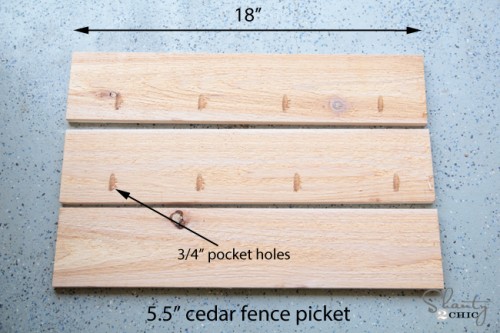
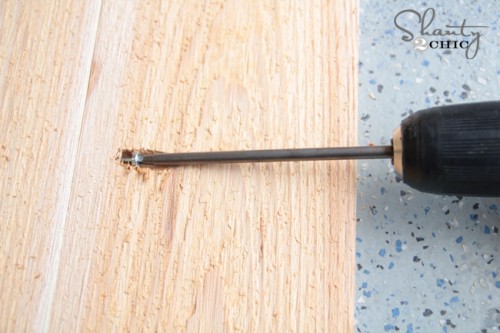
I used my Ryobi 18V One+ drill to attach my boards using 1 1/4″ pocket hole screws through my pocket holes.
Now the back looked like this…
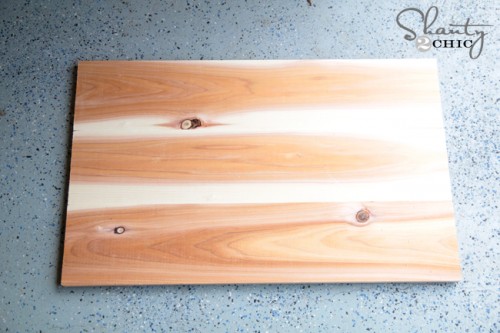
The front will look planked like this…
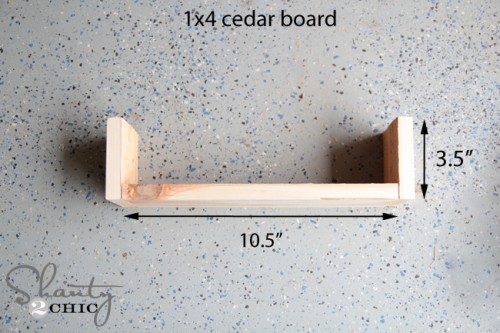
Next I made my 1×4 cuts. This will be my planter. I made 4 cuts…
1 – 10.5″
2 – 3.5″
1 – 12″
I added 3/4″ pocket holes to one side of the 10.5″ piece. I use these pocket holes to attach the planter to the planked back. These will face up and will be covered by the plants. After adding those pocket holes, I attached my two 3.5″ side pieces to the 10.5″ bottom piece using Gorilla wood glue and 1.25″ brad nails.
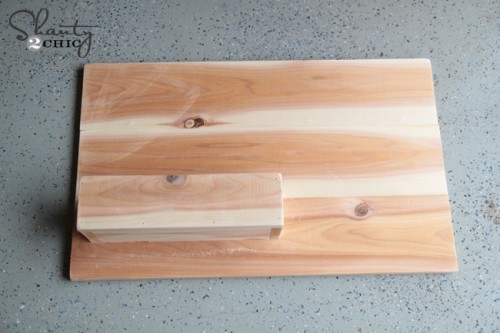
Next, I attached this piece to my planked back using wood glue and 1.25″ pocket hole screws through those pocket holes I mentioned earlier. I didn’t measure this part at all… Just used the old eyeball method.
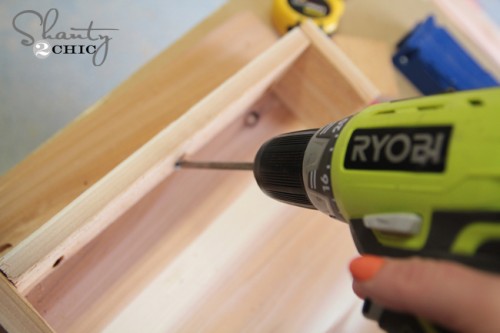
Now, it should look like this…
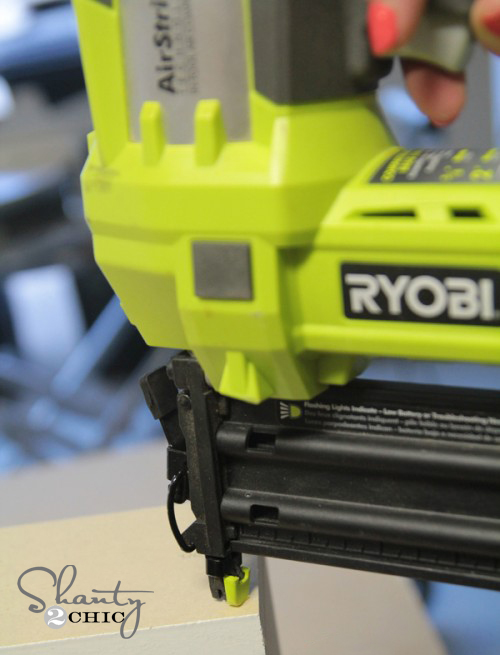
My final step was attaching the top 12″ board. I used my Ryobi Airstrike Brad Nailer with 1.25″ brad nails and wood glue to attach it.
Here it is all finished up ready for stain!
I chose to use Varathane Stain from Home Depot in the color Carrington. It’s one of our very fav colors. I think it’s the richest brown I have found, and it dries in under an hour and only requires one coat. That makes it even prettier
Products:
| Product Name | SKU | Price | Qty |
|---|
External Product Links:
Please login to comment.
Don't have an account?
Sign Up for free