We use cookies to make your experience better. To comply with the new e-Privacy directive, we need to ask for your consent to set the cookies. Learn more.


Create your own Astro Image
Tutorial taken from Chandra X-Ray Observatory for the purpose of tests around the category Astronomy.
With a basic understanding of astronomy data and image processing software, you can create your own astronomy images from FITS files. "FITS," which stands for Flexible Image Transport System, is a digital file format used mainly by astronomers.
We use GIMP (a free image software) in our tutorial.
Step #1: Download data (Example Files)
NOTE: you must right-click and choose "Save File As" to save these files
- Cas A 0.5-1.5 keV (soft) Fits File [4.0 MB]
- Cas A 1.5-3.0 keV (medium) Fits File [4.0 MB]
- Cas A 4.0-6.0 keV (hard) Fits File [4.0 MB]
Step #2: Open files in GIMP and Switch to RGB
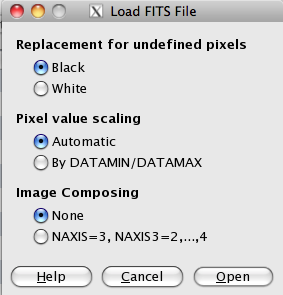
Use File->Open as Layers... and select the three files you just downloaded
Note that the default parameters in the "Load FITS File" dialog box should work well for this example
You should see 3 layers in the Layers box; one titled "Background" and two layers whose names correspond to the file names.
For simplicity, it would be good to rename those layers now by double cliking on the name of each layer.
They should be named according to their spectral band, and should be ordered from the top down as "hard", "medium" and "soft".
The images you've opened are Grayscale and will need to be changed to RGB in order to colorize the layers.
Do this by clicking on Image->Mode->RGB.
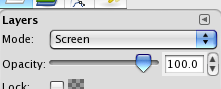
Step #3: Change Each Layer Mode to Screen
When you first open the files in layers, only the topmost layer is visible. You need to adjust the Layer Mode to allow each layer to blend together.
The screen mode applies a function to each pixel of each layer in your image. That function subtracts each pixel from 255, multiplies multiple layers of pixels together, divides by 255, and then subtracts the result from 255. The new image is a nonlinear combination of the pixels in each layer.
The screen mode applies a function to each pixel of each layer in your image. That function subtracts 255 from each pixel, multiplies multiple layers of pixels together, divides by 255, and then subtracts 255 from the resulting value. The new image is a linear combination of the pixels in each layer.
You can activate screen mode for each layer by selecting the layer in the Layers dialog box, and then clicking on the "Mode:" drop down menu and selecting screen.
Do this for each layer, and you'll notice the image brightening as you go.
Step #4: Adjust Levels
Your first view of the image was very dark. Even though GIMP automatically rescaled the FITS data, the image still needs to have its pixel levels adjusted.
Start with the topmost layer, and turn off the layers under it by clicking on the eye icon to the left of the other layers.
Open the Levels dialog box by selecting Colors->Levels and feel free to adjust the small triangles under the histogram plot in "Input Levels" to your liking.
One would typically only adjust the gamma of each layer by only adjusting the middle slider to the left or right depending on how you want to adjust the level.
Repeat this process for the remaining two layers until you are comfortable with the results.
The trick with adjusting the levels at this stage is to bring out faint details in the object but minimize the amount of background "noise" in the image. Play around with the sliders and see how subtle changes in the levels affect the image.

Step #5: Apply a Smoothing Algorithm
At this point, you're starting to see a nice image developing on the screen, but you may notice a lot of pixelated noise in the darker regions of the image. This is where a good smoothing algorithm can really take your image to the next level!
Working with each individual layer as you did when adjusting the levels, select the GREYCstoration smoothing algorithm found in Filters->Enhance->GREYCstoration.
Note that if you're using the latest version of GIMP (v2.8) with G'MIC v 1.5.2.4 GREYCstoration has been discontinued, and it's features incoporated into the main G'MIC tools.
To access GREYCstoration type smoothing, select Filters->G'MIC... and in the G'MIC window, select Enhancement->Smooth [anisotropic] and you'll be greeted with an interface similar to the GREYCstoration interface for contour preserved smoothing.
There are a lot of options in the GREYC window, feel free to play around with them and discover for yourself what works. For this exercise, the default parameters seem to produce a nicely smoothed image. It is important to note that the outcome of the GREYC smoothing is heavily dependant on the levels you chose for your layers in the previous step.
If your layer is relatively bright, and there is a lot of background noise, this can fool GREYC into thinking that there is structure in the noise. You may end up with swirly, Van Gogh (Starry Night) artifacts in your image! You can either readjust your levels, or tune GREYC to ignore the noise. This is probably going to be most troublesome in the hard energy band image, as this portion of the dataset tends to contain the most noise.


Step #6: Add a Splash of Color!
One limitation of using GIMP for a 3 color image is that GIMP does not use what are known in Photoshop as "Adjustment Layers".
Adjustment Layers allow you to make changes to your layers in a non-destructive way. That is to say that you do not actually change the layer itself, you apply an additional layer to the original layer to make changes.
This preserves the original layer so you can always go back to its original state at any time.
The changes we'll make here have to be applied to the original layer, and once the file has been saved and closed, you cannot back out of those changes.
One workaround to this is to duplicate your original layers and do all of your work on the duplicates so that you can always go back to the original if need be. GIMP v2.8 has laid the groundwork for an approach to adjustment layers known as a node-based workflow.
When fully implemented, this will allow GIMP users to perform non-destructive editing to various layers within an image.
- To apply color to your layers, we'll work from the bottom up starting with the low energy layer.
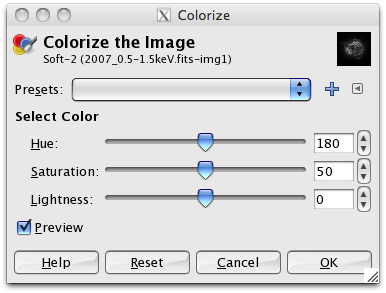
Select this layer, and then go to Colors->Colorize. In this example we'll be coloring the low, medium and high energy layers as red, green and blue respectively. So, for this layer, we'll want to make it red. - You'll notice that as you sweep the Hue bar from left to right, the numbers increase from 0 to 360. That is because Hue is pulled directly from the color wheel; a 360 degree representation of the visible light spectrum (red, orange, yellow, green, blue, violet). Imagine that you've taken the 360 degree color wheel and layed it out as a flat strip on a table.
Now, you're selecting colors by specifying the location on that strip in degrees.
The color red just happens to correspond to 0 degrees on the color wheel, hence 0 in the Hue selector. - In order to have a rich color that doesn't over saturate when you combine with the other layers, we'll use a "Saturation" value of 100 combined with a "Lightness" value of -50
- For the green and blue layers, play around with various Hue settings to find your ideal green and blue, and combine that with the recommended Saturation and Lightness levels.
- You may want to turn off the layers that you're not working with in order to clearly see the color effect you're applying.

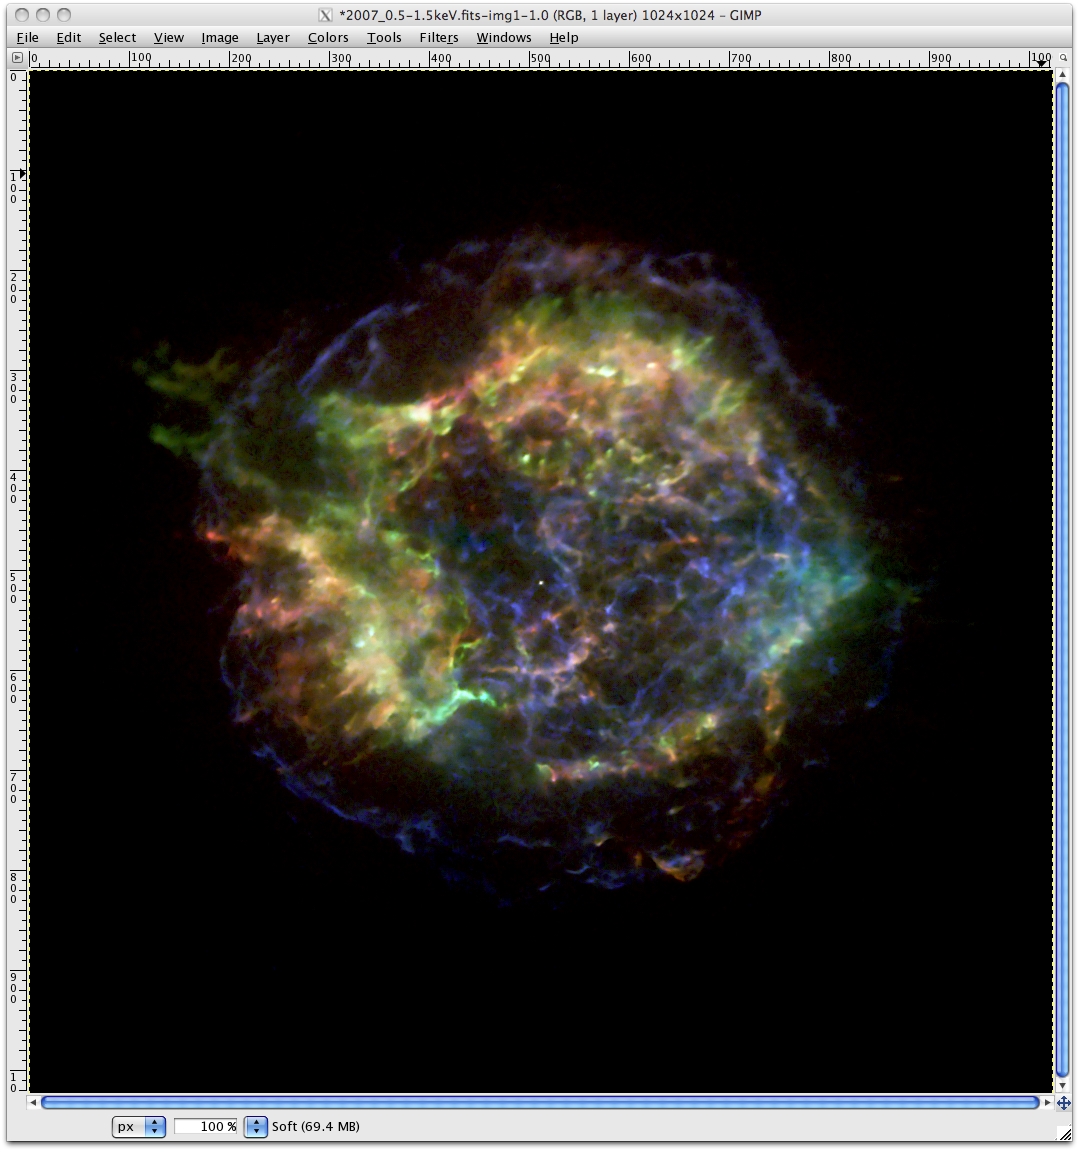
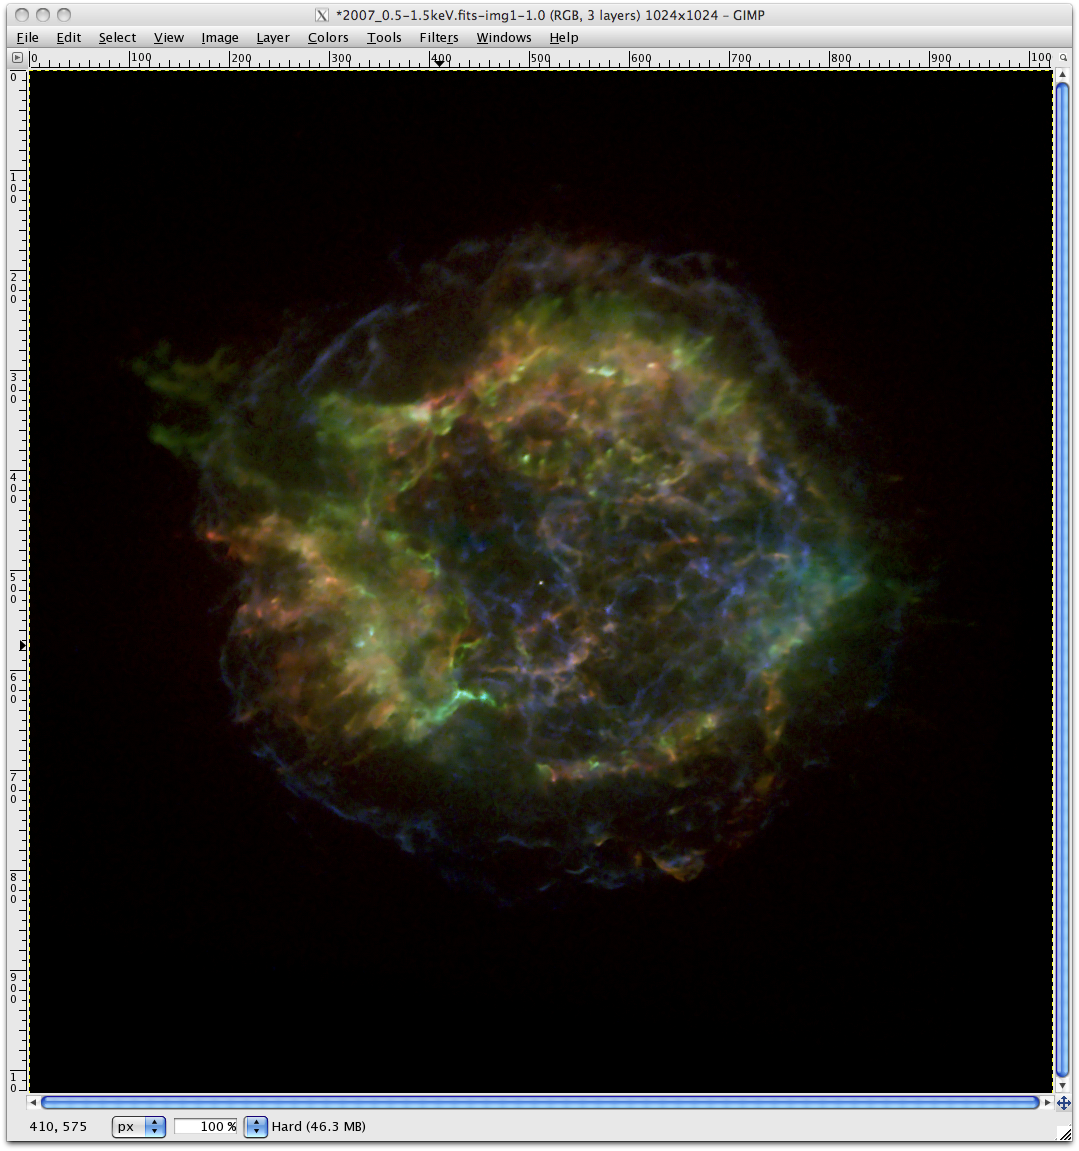
Step #7: Result
You should end up with something similar to the image below when you are done.
Step #8: The Finishing Touches
Now that we've added color to the image, it is really starting to come together.
Yet, still more could be done to make the image really pop!
At this point, you can let some creative freedom loose and explore various tools within GIMP to bring out more of the color and brighten the image up.
In the example below, I've done another round of levels editing to the three layers and then merged them into one using Image->Merge Visible Layers.
I then used the "Curves" tool in "Colors->Curves" to emphasize the saturation of the brightest levels in the image, while slightly suppressing the lowest levels.
As you become more comfortable using your image editing software, you will develop an intuitive sense of what you can do next to realize your true vision!
Please login to comment.
Don't have an account?
Sign Up for free