We use cookies to make your experience better. To comply with the new e-Privacy directive, we need to ask for your consent to set the cookies. Learn more.


MAKEADRONE KOLIBRI
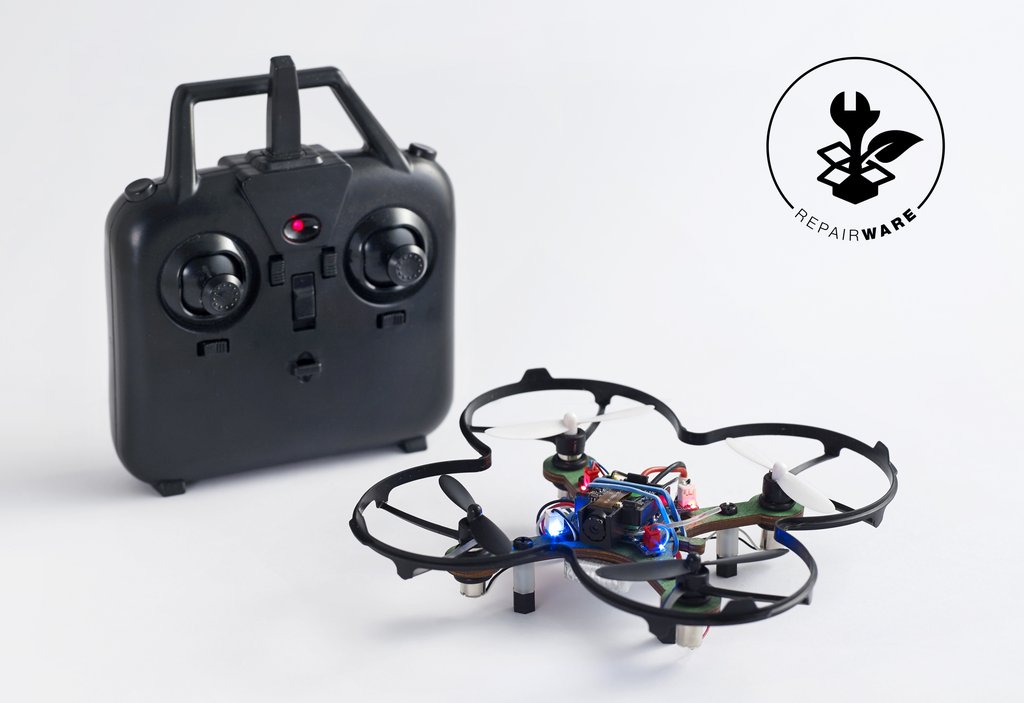
MAKEADRONE KOLIBRI is a building kit from Norway.
It is a super fun and easy build kit, to get your kids interested in drone technology.
And of course to fly indoor and set up your own track.
Step #1: Charge the battery
- Plug in the charger
- Light will be pulsating while charging
- Light is constantly on when fully charged
Step #2: Ready the Radio Controller
- You need two AA-batteries, attach them in the back of the battery compartement of the controller
- Snap the steering controller buttons in place on the front
Step #3: Assemble the legs

- Use the main frame, put the screws through the frame (next to A & B lettering)
- Screw on the spacers at the bottom
Step #4: Mount the motors
- Motors with wire black/white goes to B side
- Motors with wire red/blue goes to A side
- Attach O-ring to the bottom of the motors
- Slide it through the frame from the bottom. (Wires should come out on the side the spacers are)
- Put an extra O-ring on top to hold the motor in place.
Step #5: Thread the motor cables
- Slide each motor cable through the frame
Step #6: Mount the electronics
- When mounting the circiut board, the antenna should be where the UP arrow is located on the frame.
- Use rubber string to hold the circiut board in place
Step #7: Connect the motors
- Attach each motor to the JST connector on the circuit board.
- Red on red / white on white
Step #8: Thighten the motor cables
- Pull the wires back through the frame.
- This is to prevent the wiring getting catched by the propellers.
Step #9: Mount the propeller protective casing
This is optional, but if you are to fly indoor, this is higly advisable to attach.
If you are a beginner, they should also be attached for safety reasons.
Flying a drone is always a risk! So safety first.
And if you care for your propellers and want your drone to live longer, ...attach the protective casing.
- Push the protective casing over the motors
- Re-thighten the O-rings on the motors
Step #10: Mount the propellers
- Propeller A's goes to the Motor A's
- Propeller B's goes to the Motor B's
- Push the propellers on top of the motor pin
Step #11: Mount the drone battery
- Slide the battery under the rubber string on the bottom of the drone frame
- Connect the battery to the circuit board (JST plug)
Step #12: Fly the drone
- Turn on the Controller
- Push Throttle Up, then Throttle Down
- When all lights on the drone is constant, binding have been set between the controller and drone
- If not, disconnect the battery and turn off the controller, and repeat the process above.
Step #13: Calibrate the ACC
- Set the drone on a horisontal surface
- Pull both controllers down towards the power buttons
- Drone starts blinking, which means calibration was a success
Step #14: Start the engines!
- Push each controller down and outwards at the same time, this will start the motors
- The drone will now fly when you push the controller throttle up
Step #15: EXTRA - Use a Smartphone
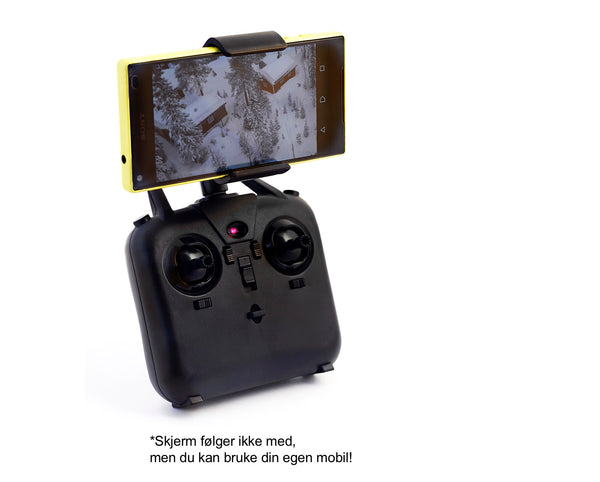
If you got the drone with camera, you can download the app "Wifi UFO" (supports both iOS and Android) for free, and stream your flying. Become a Pro Flyer
Products:
| Product Name | SKU | Price | Qty |
|---|
External Product Links:
Please login to comment.
Don't have an account?
Sign Up for free